This page will show you how to do a quick and simple setup of your showcase. The showcase will be used to set lights and a camera.
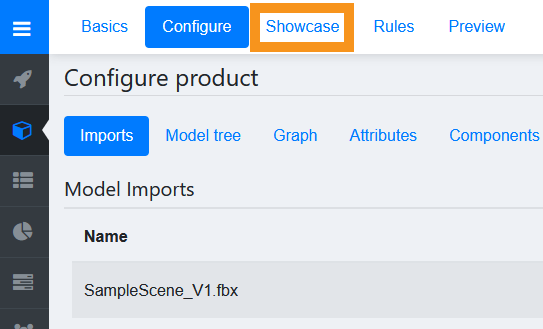
After importing a model we are ready to setup the showcase. Start by clicking Showcase at the top of the screen.
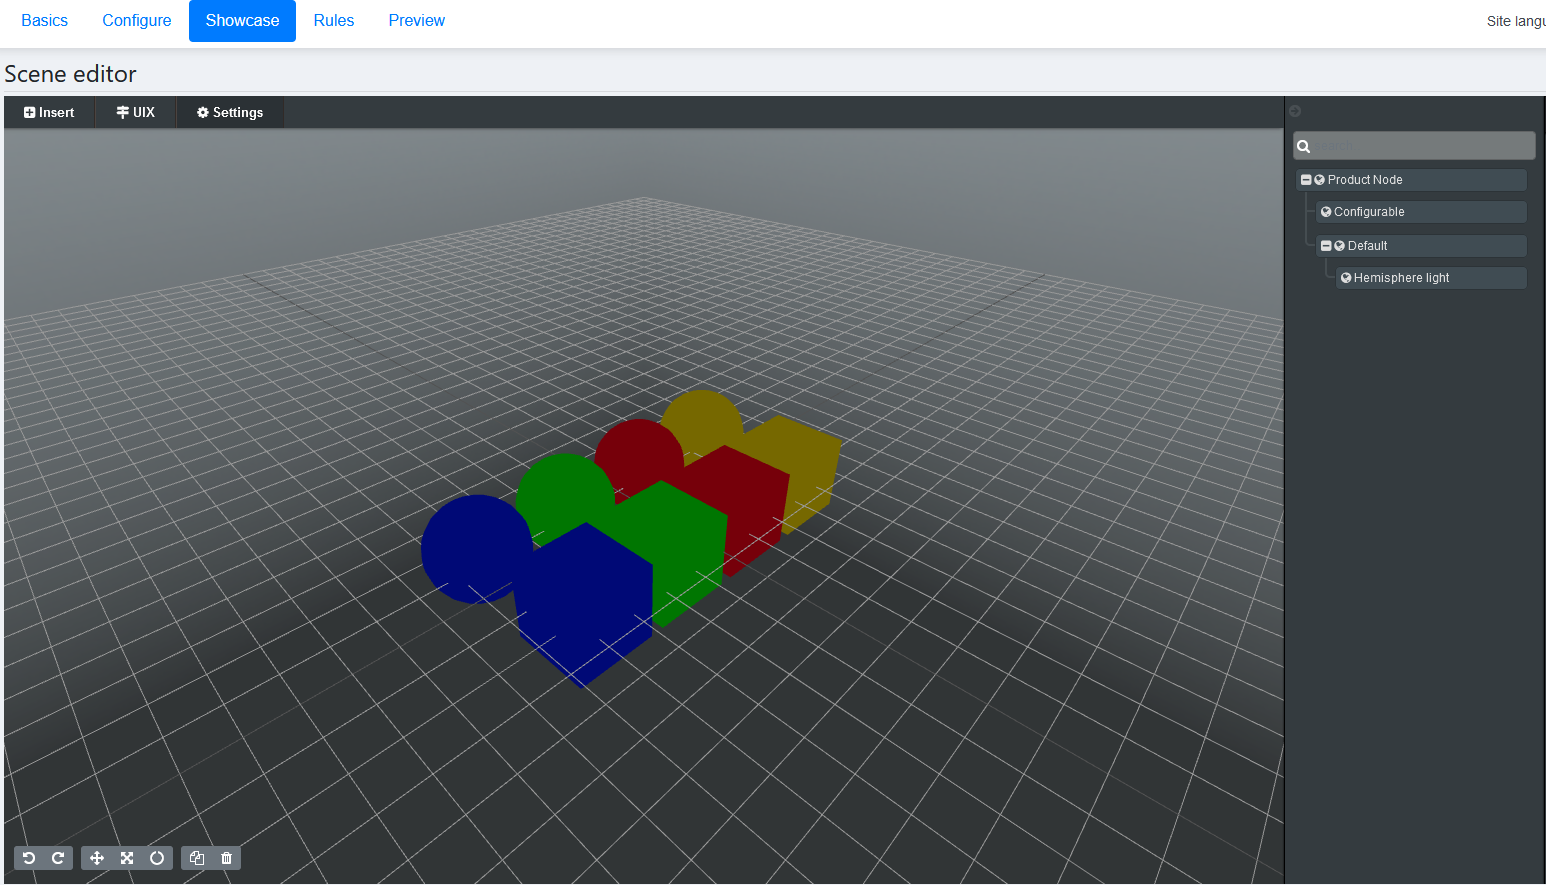
The showcase will now load. In the showcase we have control over how your model will look in Expivi. We can do this by adding lights and other visual effects
Setting Lights
First, we start by creating a 3 point lighting setup so your scene is evenly lit from all sides. In order to do this we will go to Insert → Lights → Spot.
Note: A 3 point lighting setup is a very basic setup which works for simple models. Experiment with different lights and settings to see what fits your project best.

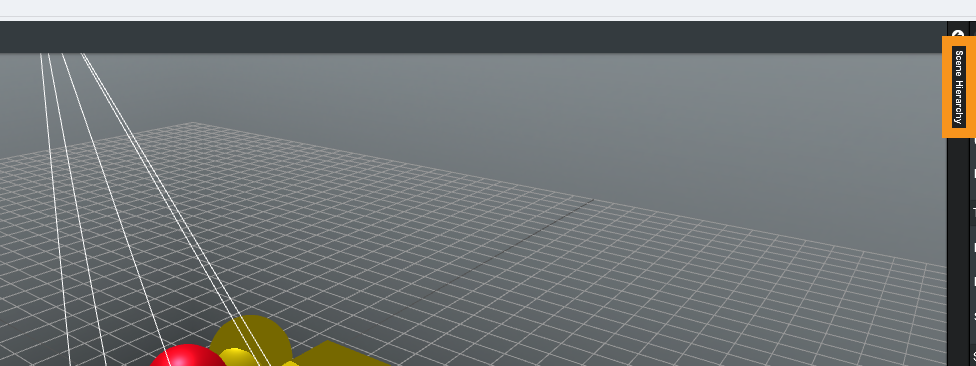
This will create a spotlight in the Showcase Scene hierarchy. In order to change properties of the spotlight we just created, we have to go to the Scene Hierarchy window. On the right side of the screen click Scene Hierarchy in order to open the Scene Hierarchy tab.
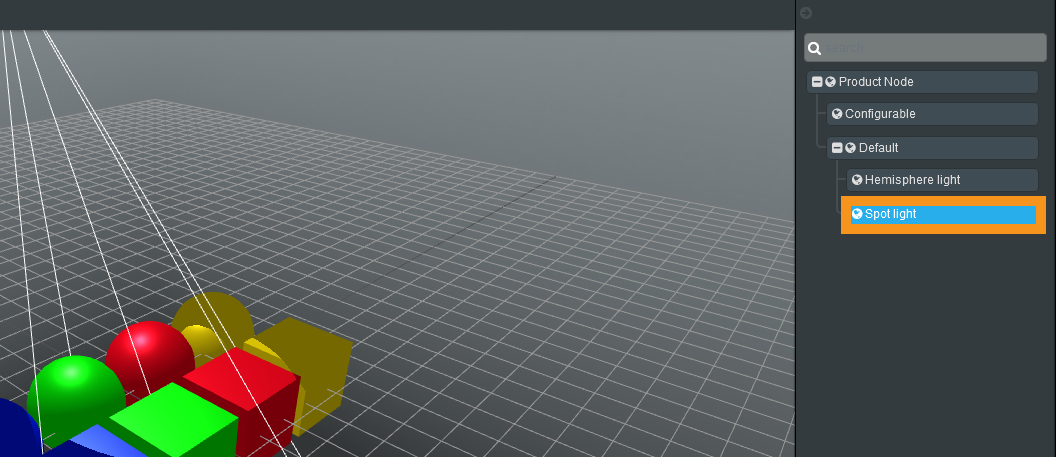
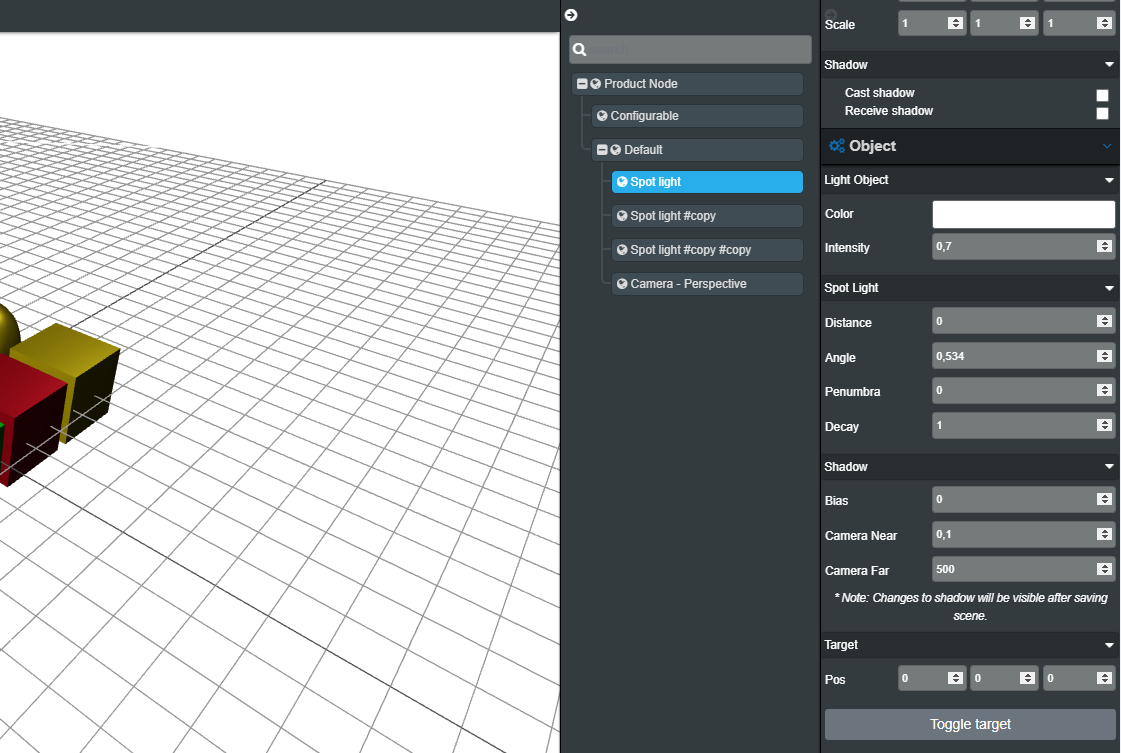
Now we have opened the Scene Hierarchy we can go to the properties of the spotlight. In the tab click on Spot light to show the properties on the right side of the screen.
The options will open. Here you have control over how the spotlight behaves. For now we will simply edit the intensity since we are going to use 3 lights. A good practice is to have the lights add up to about 1.4 intensity.
We can add more spotlights by adding them the same way, or right-click a spotlight and select Duplicate.
Place your spotlights around your model in a triangle shape so that the model is lit from all sides.
Note: By default, Expivi will add a hemisphere light. This light can be adjusted or removed as you see fit. For this example it has been removed
Setting the Camera
The last thing we will need to do is to set up a camera. A camera is used to define a starting position to show your product from. The camera also has many different options to adjust how your product will look through it. It can also be restrained in its movement.
To add a camera, click insert → (Camera) perspective
Click the camera in the hierarchy to open its settings. Here we can set a min and max zoom by adjusting the Near and Far fields. A value of 1 represents 1 square on the grid. For now, lets set the Near to 3 and the far to 20.
The last thing we need to do is set the camera. To set the camera, first select the camera you want to set, then simply place your current view (this does not have to be the camera you just made) wherever you see fit, and click Set Camera.

And done! We have set up a basic showcase to properly view our models. Now we can proceed to set up our options by building up the correct attributes. Please proceed by following this link: (Insert link)