Table of Contents
How to integrate the Expivi 3D configurator with Lightspeed
Note:
Unfortunately, one Expivi account can only be connected with one Lightspeed shop. This is caused by the limitations of the Lightspeed platform. You can always connect with multiple stores built on other eCommerce platforms.
Prerequisites
Before you can use the Expivi plugin in your Lightspeed store you will need to have an Expivi account. This can be easily created by registering at https://expivi.com/.
Creating your Expivi products:
- You need a 3D digitalized file of your product;
- Next follow the steps in here to start setting up your products on Expivi: https://knowledge.expivi.com/knowledge-base/getting-started-video-tutorials/
- Need help with your 3D files or product setup? Please contact us to help you get started at: https://expivi.com/contact
Installing and integrating Expivi in your Lightspeed store can be done in these 3 easy steps:
- Installing the Expivi app on your Lightspeed store;
- Connecting the Expivi products with your Lightspeed products;
- Editing the settings
We assume that you already have products in your Lightspeed store that you want to connect with Expivi. If you do not then first create them so we can connect them with Expivi products later on.
1. Install the Expivi app for Lightspeed
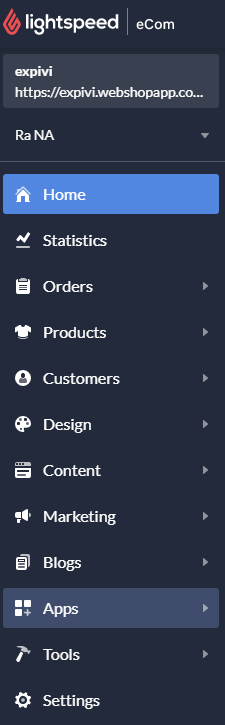
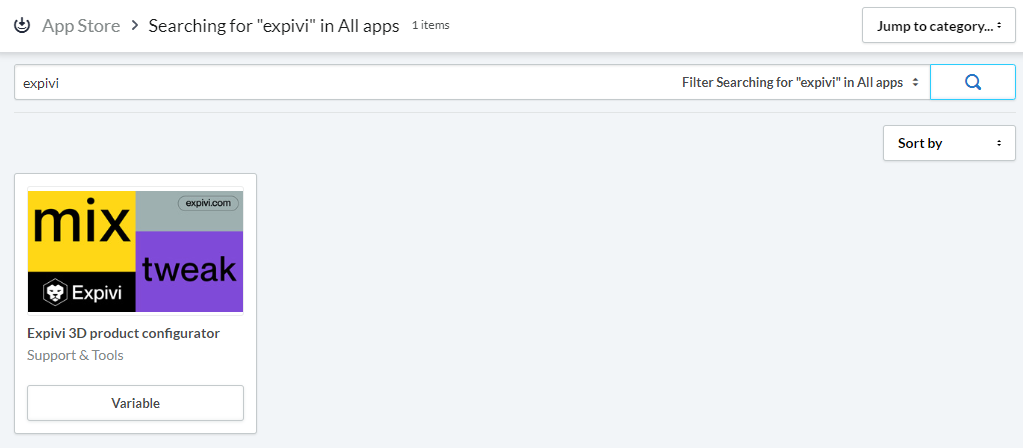
Head over to the Lightspeed app store on the admin page of your shop.
Here you need to search for Expivi and click on it.
Install the Expivi app like any other Lightspeed app by clicking the green Install app button.

You will see the screen below:
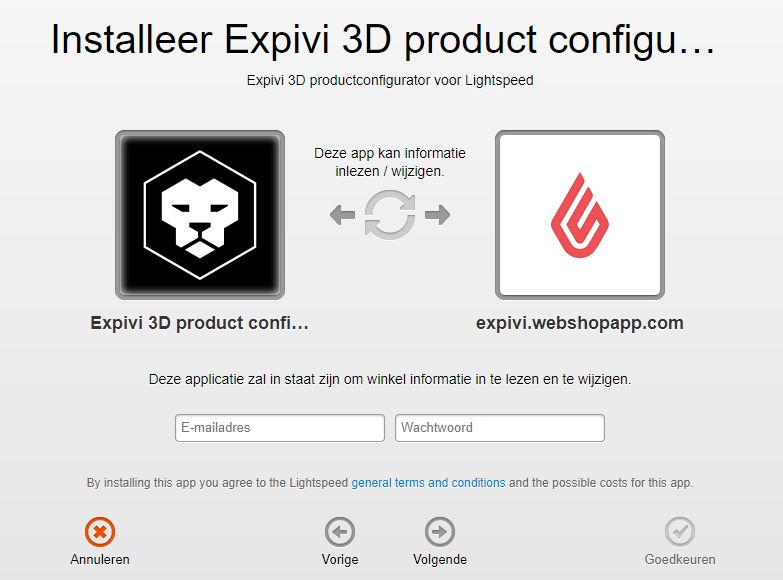
Here you have to login by using your Lightspeed login credentials and then pressing enter. Now click on the “Grant access” button.
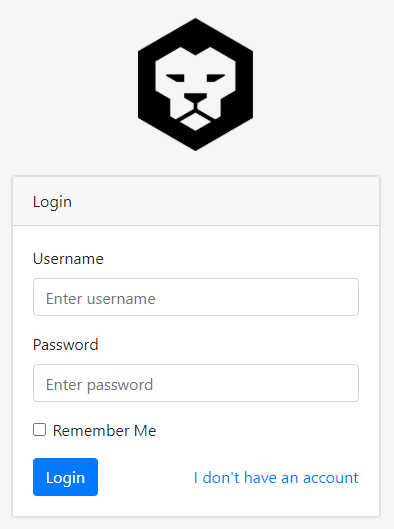
On the next screen, you will need to login with your Expivi login credentials.
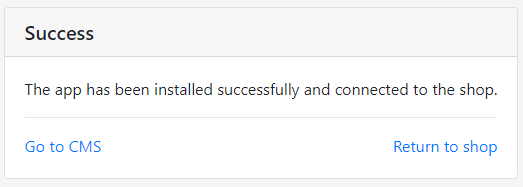
If successful, you will get a message saying the app has been installed successfully.
2. Connecting the Expivi products with your Lightspeed products
To connect the 3D products on the Expivi platform with the products on the Lightspeed platform, we need to associate the same products on both platforms with each other.
Go to the Expivi backend (log in at https://admin.expivi.net/) and go to Team > Integrations. If the Lightspeed app has been installed successfully, you’ll see the Lightspeed box like below: (If not it will say “Not installed“ and you won’t be able to click on the Manage button)
Make sure the integration is set to “Active”.
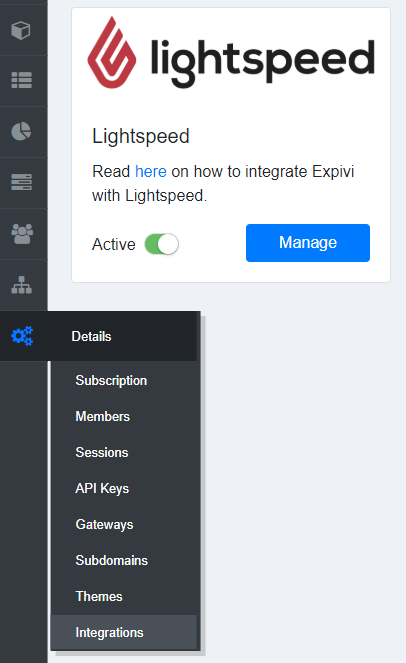
Click on the “Manage” button and a complete list of all your products that are in the Lightspeed catalogue will be displayed.
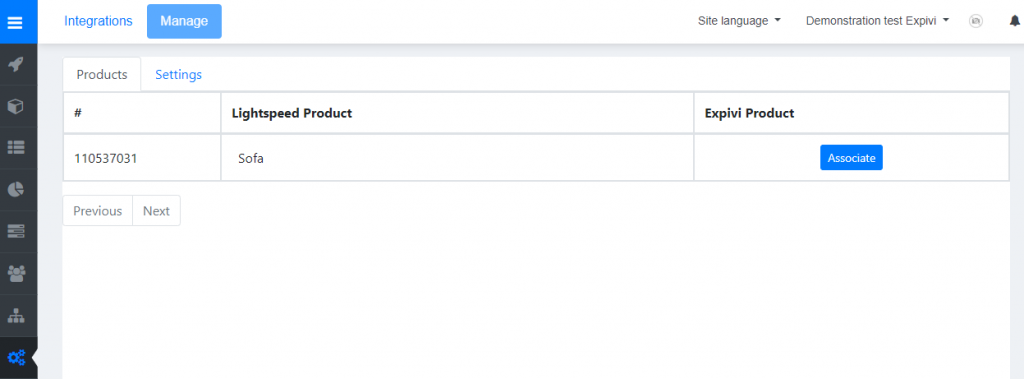
We now have to link each Lightspeed product with the Expivi product, to integrate the 3D product configurator with the Lightspeed product. In order to do this, hit the “Associate” button and select the corresponding product. Repeat this process for each product.

Your Lightspeed products are now associated with Expivi 3D products.
3. Edit the settings
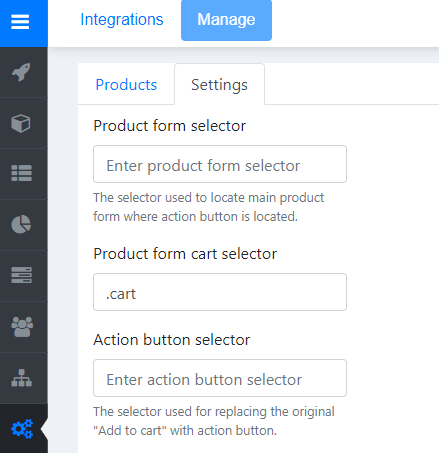
If you did not close your Expivi backend window navigate to the Settings tab in the Lightspeed integration manager. If you did close the window you can navigate back to Team > Integrations and click on the Manage button and go to the Settings tab from there.
Adding the configure button on the Lightspeed product page
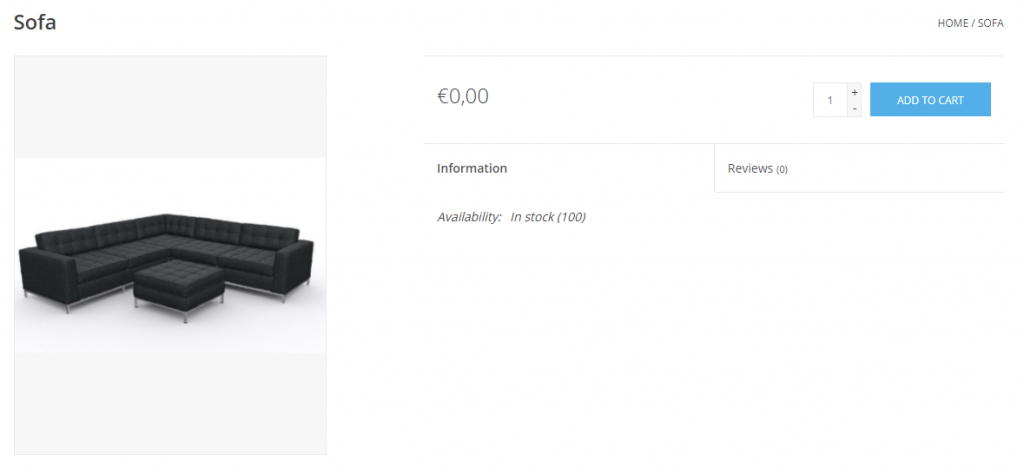
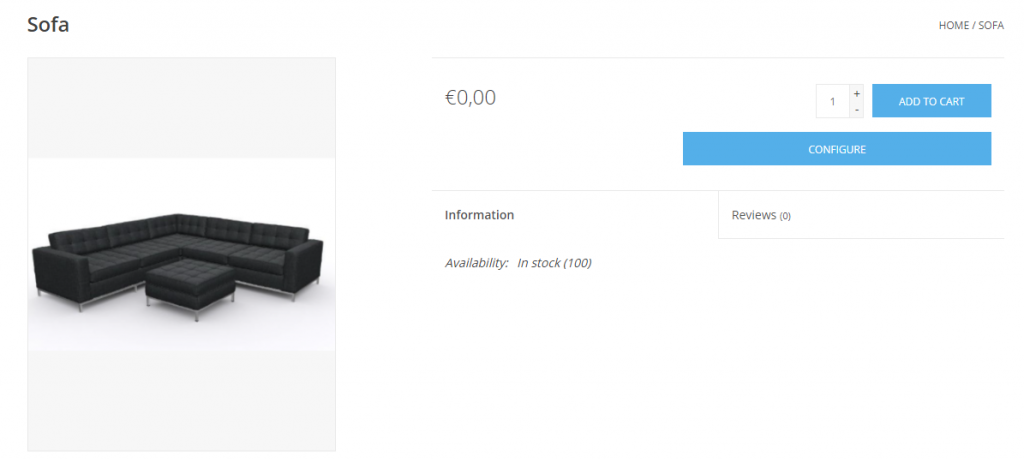
We will now add the Configure button to the product page. This is our product page now:
We need to find the CSS class from the Add to cart button by inspecting it as follows (can differ for each browser):
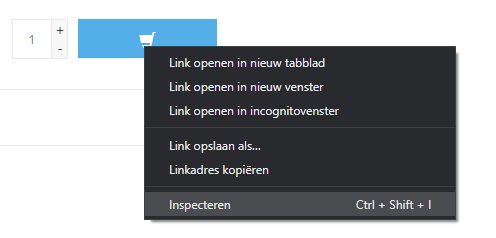
Once in the inspector find the Add to cart part.

Now copy the class name of the <a> tag, in this case: “btn glyphicon glyphicon-shopping-cart“.
Insert this in the Action button selector field in the settings tab of the integration in the Expivi backend, but replace all the spaces with dots like so:

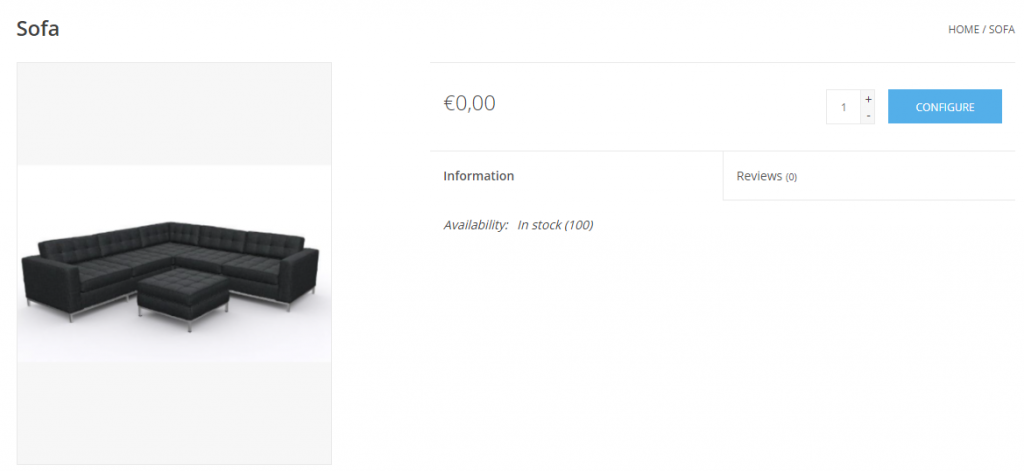
Press save at the bottom of the page. Our product page should now look like this:
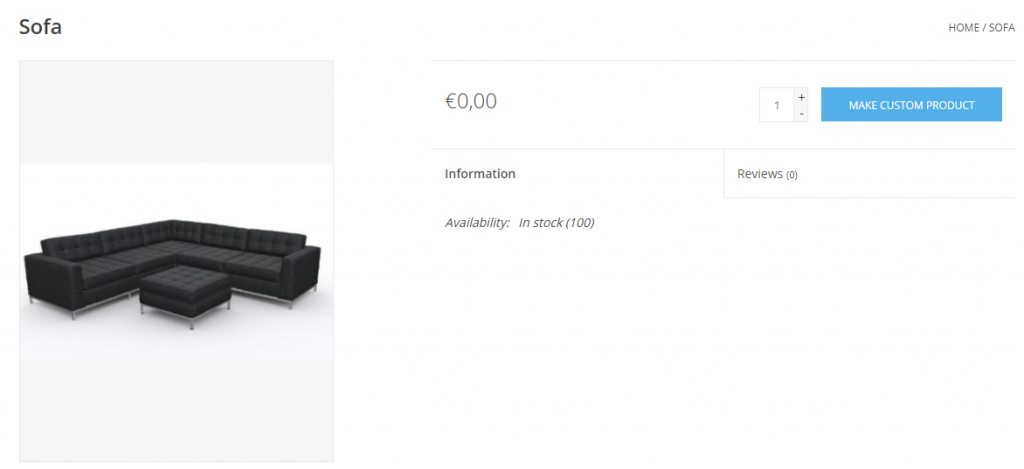
If you want to remove the Add to cart button and only have the Configure button you need to enable this in the Expivi backend like so and pressing save again:
The product page will now look like this:
Well done! You’ve now integrated the Expivi 3D configurator with your Lightspeed store. If you have any questions, please contact us and we’re happy to assist you!
Extra optional configuration
Action button text
By default the text for the “Configure” button that’s linked to the 3D configurator is “Configure”. You may change this button text here:

The result will look like this:
Enabling inventory tracking
Every custom 3D product that is added to the Lightspeed shopping cart creates a new product (a replica of the original product) in your catalogue. When a order is successful or the product is removed from the shopping cart it gets deleted again. ((TODO: make this link jump to the bottom of the page where the appendix is located) read more about this in the appendix) Because of this, the stock levels of your product will get out of sync.
This is because each new replica will get the same stock as the orignal product. When a customer orders the customized product (the replica), the stock level of the orignal product won’t be updated. Likewise, if the original product is ordered the replica won’t be updated either.
Short example
The sofa I am selling has 100 in stock. A customer creates a new configuration where the sofa is yellow. This yellow sofa will have a stock of 100 aswell. Once this order has been processed the yellow sofa’s stock is 99. But the original product still has 100.
To resolve this issue we need to do 3 things:
Step 1 You need to Enable inventory tracking in the Expivi backend so that the stock levels are managed on the Expivi platform instead of the Lightspeed platform. The original product and all replicas of that product will communicate with the Expivi platform to see what the stock level is.

Step 2 After enabling inventory tracking we need to create a so called “Location” to be able to enter the amount of stock for each individual product.
Go to the backend of Expivi and navigate to Site > Inventory
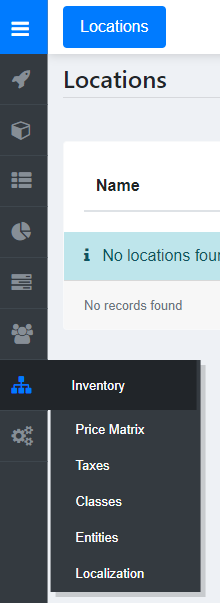
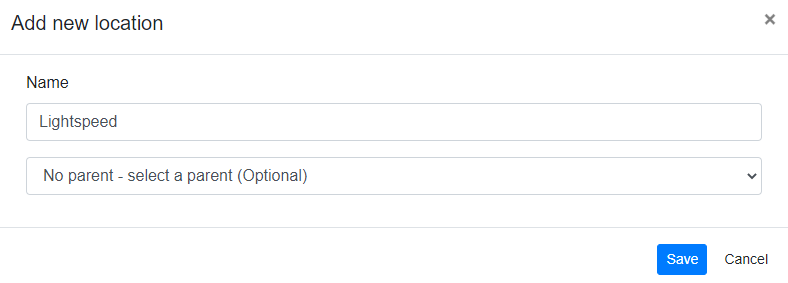
Click on the “Add” button (top right corner) and add a new location called “LightSpeed” and press save.
Step 3 Navigate to the specific Expivi product you want to use “inventory tracking” for.

Click on the product and navigate to Basics > Inventory tab.
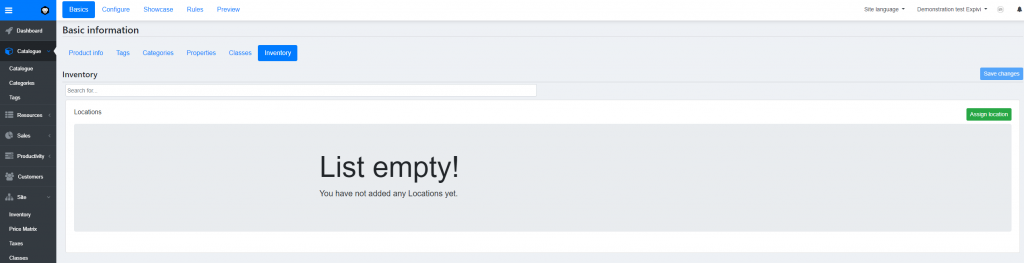
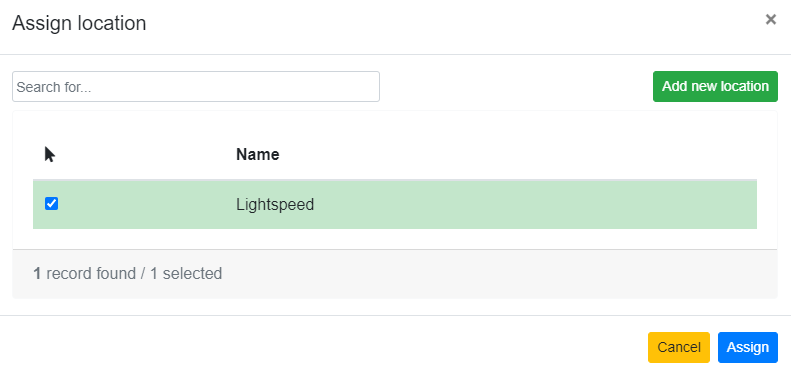
Click on the green Add location button and the “Assign location” popup will appear. Select the “LightSpeed” location and click on the Assign button to assign the location to the specific product.
Click on the Lightspeed location to open it, here you can enter the stock level.

Redo step 3 for each product you want to manage the stock level for.
Note: Enabling automatic inventory tracking in Lightspeed shops with high amount of customers may result in incorrect stock levels. The stock level is communicated with Expivi during the purchasing process. If in the rare event of two or more products being purchased at the exact same time, the stock level would reach zero while the multiple products are being communicated with Expivi. The product might be ordered while getting an “Out of stock” notification during the purchasing process.
Note 2: You can prevent note 1 with the out-of-stock notification from Expivi itself (“Alert enabled”)
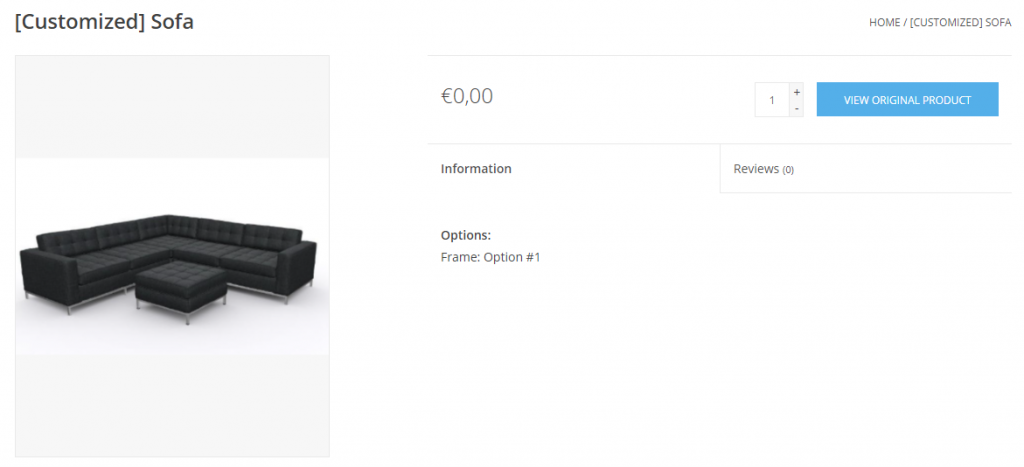
Show “View original product” button
When a customer goes back to the customized product by clicking on it in the cart, you can show them a View original product button like this:
Before:

After:

Note: When the “Action button selector” field is being used, the “View original product” button will replace the “Add to cart” button. Otherwise there will be 2 buttons like so:

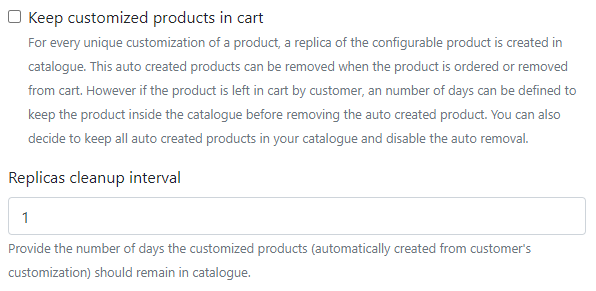
Keep customized products in cart
To prevent your catalogue from getting filled with customized products (with the prefix “[Customized]”), the replicas are being removed when the products are being ordered or removed from the cart.
This automatic removal won’t happen if the customer leaves the customized product in the shopping cart. In the “Replicas cleanup interval” setting (this setting is only shown when “Keep customized products in cart” is disabled), you can enter the number of days you want to keep the products in the shopping cart. If you’d enable the “Keep customized products in cart” setting, the customized products will never be removed from the cart.
Extra features
Using fonts with text_to_image attribute type and custom themes
If you want to use a custom font for your text_to_image attribute (for example some custom text on a shirt. (TODO: insert a hyperlink to tutorial on how to do text_to_image on expivi’s side.) you will need to create a custom theme where you import that font.
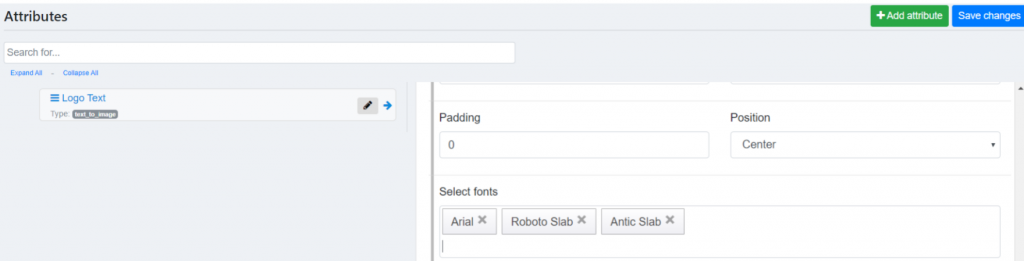
If you want to create and use a custom theme for your product configurator, you can do this by following this tutorial: (TODO: this should link to live site documentation) Expivi LightSpeed – Uploading Custom Themes For Page Styling.
In this example the code you would need to add to your custom theme’s header would be this:
<link href="https://fonts.googleapis.com/css?family=Antic+Slab|Roboto+Slab&display=swap" rel="stylesheet"> |
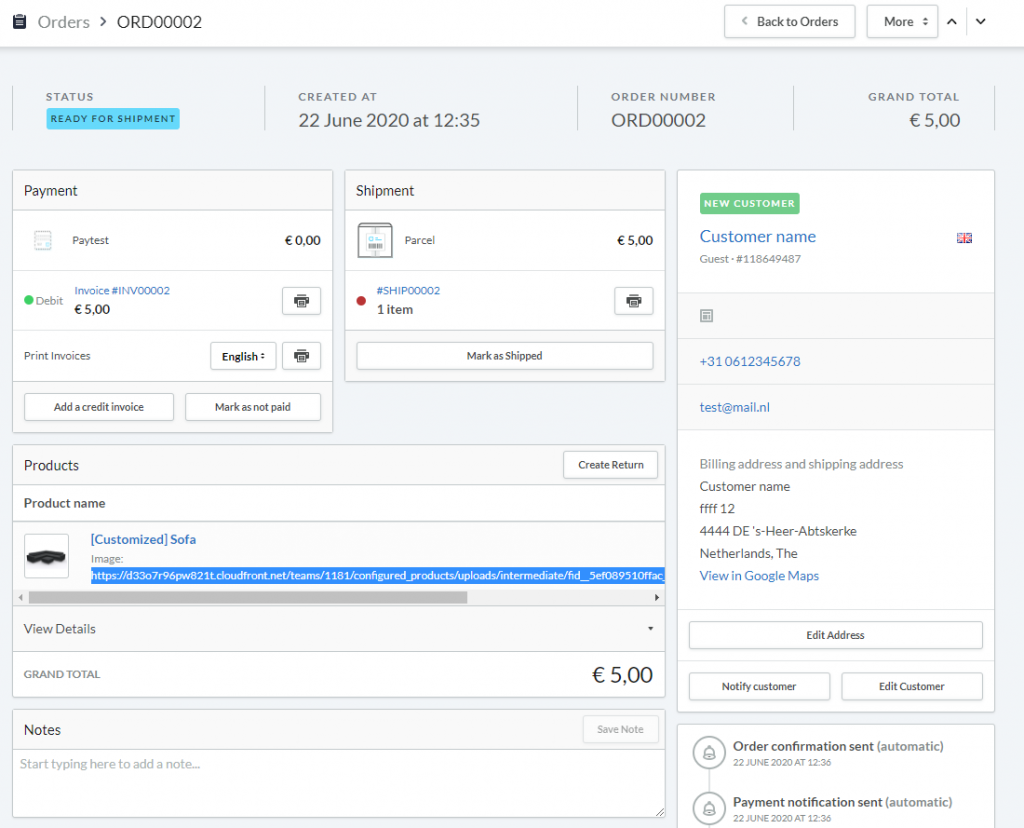
Image upload
You can allow customers to upload an image (for example a custom image on a shirt). To enable this you have to use the image_upload attribute in the CMS configuration.
After a product is ordered, you will be able to see url to the uploaded images in the Lightspeed Order page.
Appendix
Auto-generated customized products (replicas)
In order to be able to add a product to the Lightspeed shopping cart which is customized with Expivi’s 3D product configurator, the Expivi app automatically creates a temporary product (a replica) for every unique customized product and adds this to the shopping cart.
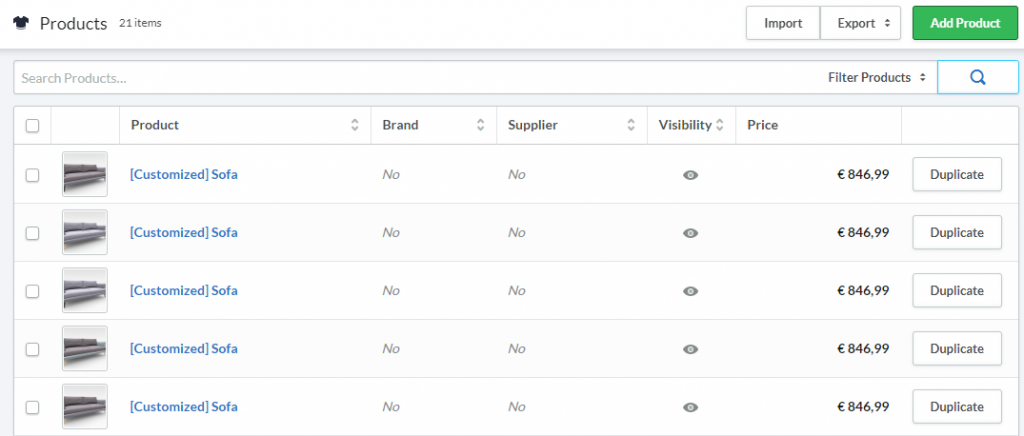
This means that every time a customer adds a customized product to the cart, a new product (a replica) will be added to the catalogue (recognizable by the “[Customized]” prefix). The replica product will be removed automatically from your catalogue, if the product is being ordered or removed from the shopping cart.

The newly generated product will also have a new thumbnail and a new product description showing the chosen options of the customized product.
Note: Your “New products” list in Lightspeed will be affected as well. Customers will see the customized products appear anywhere the “New products” widgets are displayed. To prevent your catalogue from being populated with customized products by your customers, Expivi provides settings to limit the number of auto generated products.
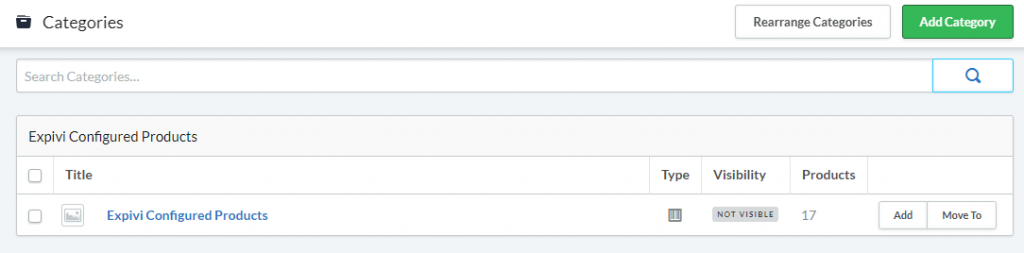
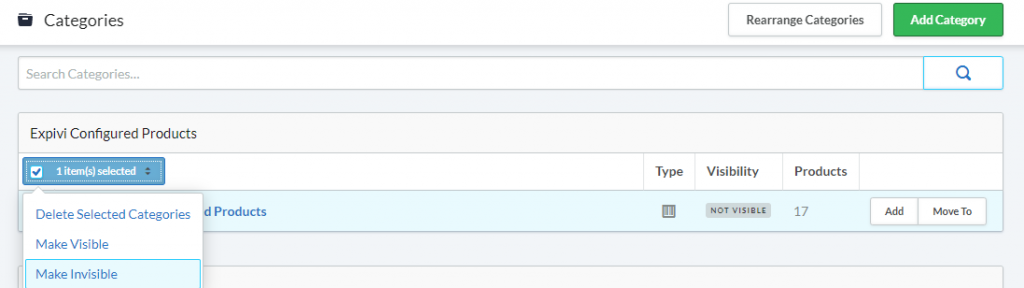
You can hide all replicas from your store by marking the “Expivi Configured Products“ Category as invisible. Like so: