This page will show you how to login Expivi, make a new product and import your 3D model into Expivi.
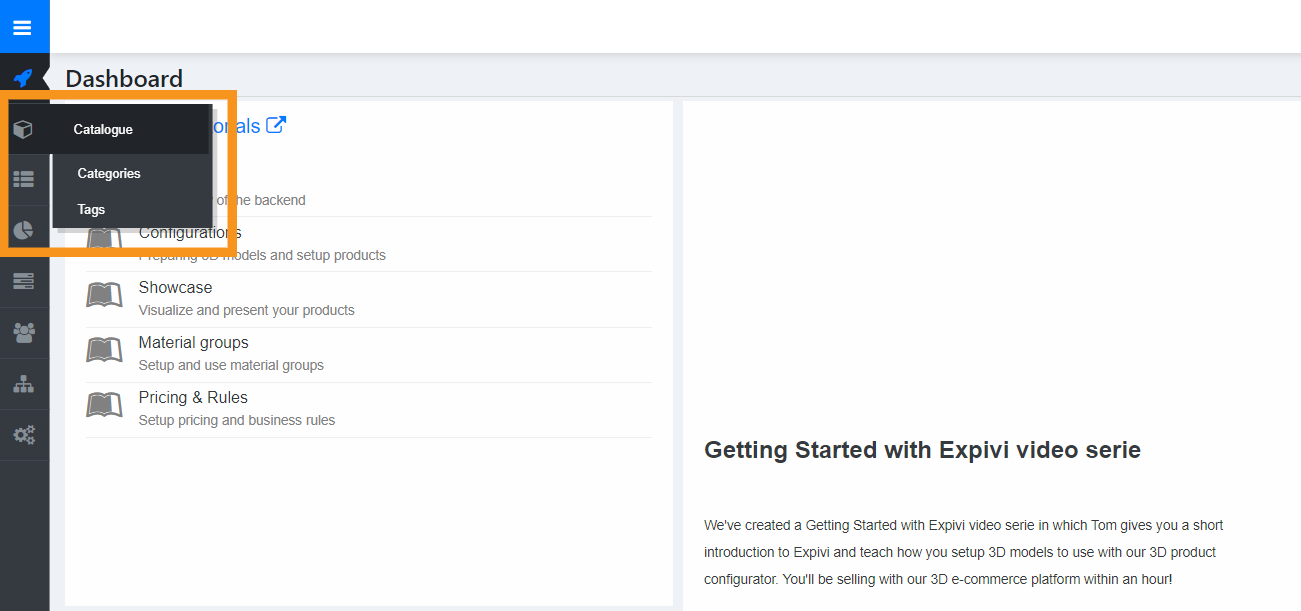
Start by logging into the Expivi back-end by going to www.admin.expivi.net. Then navigate to the sidebar on the left, press the cube icon on top and select Catalogue.
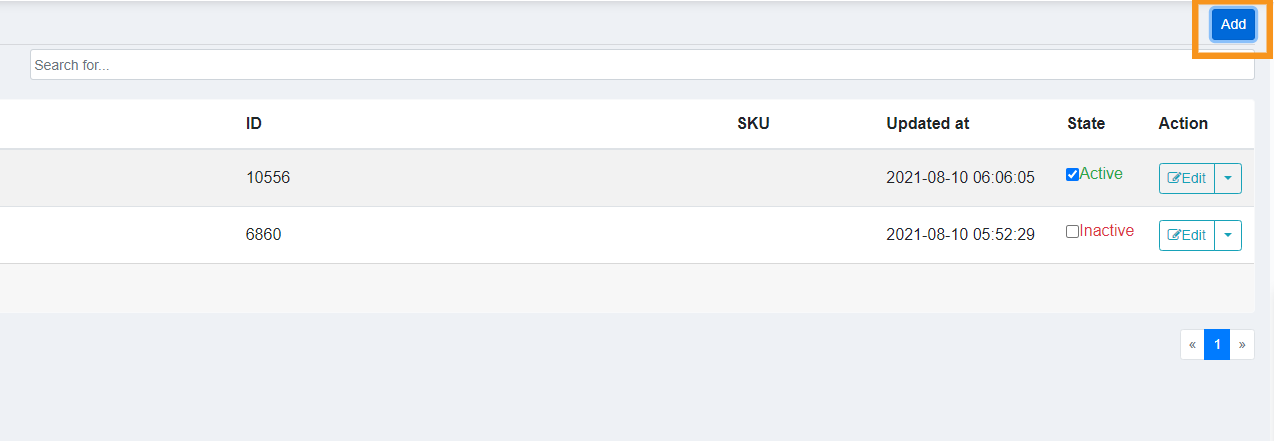
You have now arrived at the product page. From here you can manage all your products. Let’s start by adding a new product by pressing the Add button on the top right.
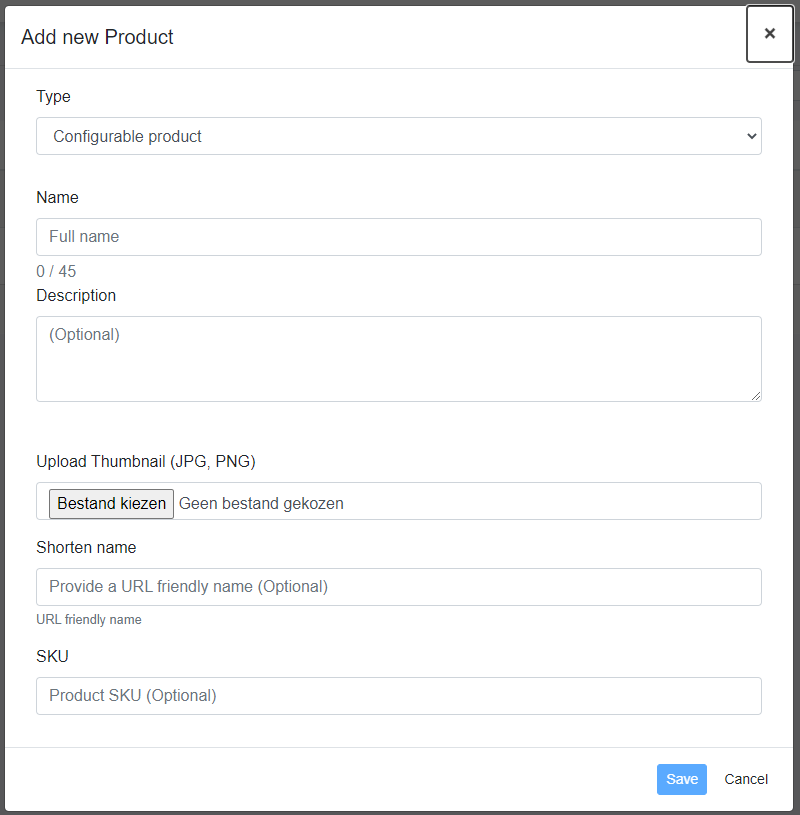
A new window will pop up where you can define your new product. You can give it a name, a description, a thumbnail image, a short name and a product SKU. Only the name is mandatory, the rest is optional and can be added later if needed.
Once your product is created, click on the product name in your product list. This will take you into the product configuration pages. From here, click on Configure (1) at the top of the page and make sure you are on the Imports (2) tab on the second row. On the right you will see the Import Wizard (3) button. Click that to start importing your 3D model.

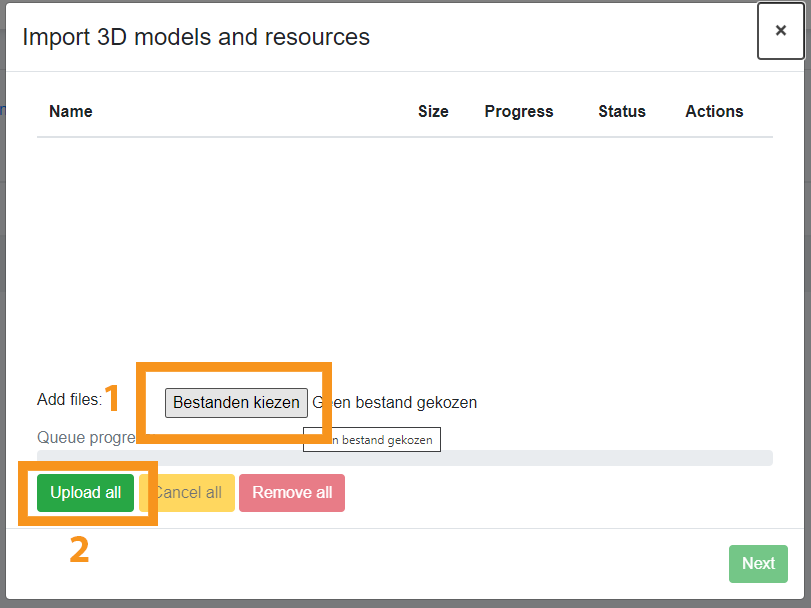
Once you clicked the Import Wizard button, a new window will pop up. From here you can add your files. First, press the Bestanden Kiezen (Add files)(1) button. Add the file you want to upload and press Upload all (2). Wait for the model to process and click Next in the bottom right corner.
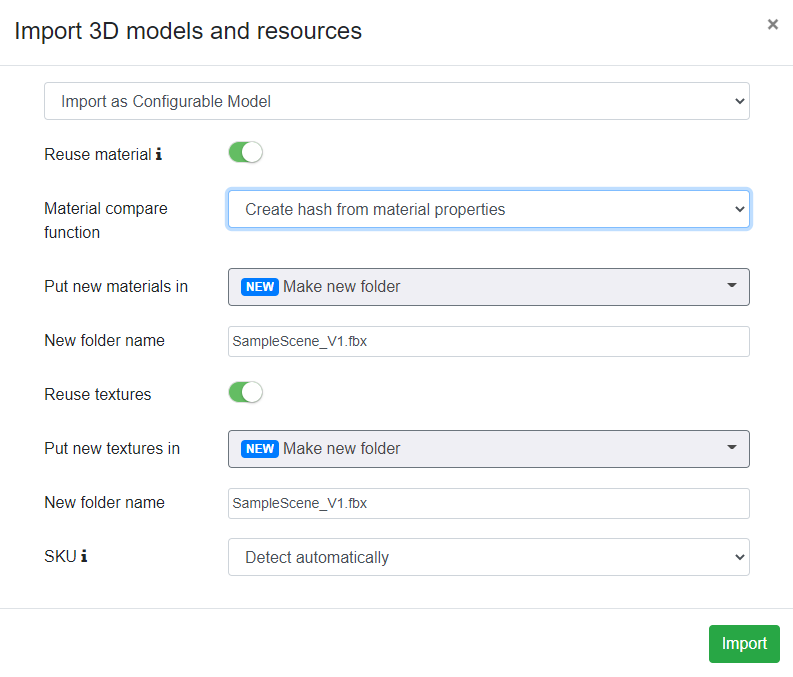
From here, another window pops up with settings options for importing models into Expivi. The default settings are fine to begin with. Once you are ready to import the model, click Import on the bottom right.
Your model will now import. Depending on the size of your file this can take a few minutes. Once the model is successfully imported it will show up on your product page. If there was a problem with importing your model, the status column will display the Error status. If all is well, it will display Success.

Well done! You have now set up your 3D model inside Expivi.
The next step is to set up your Showcase. To continue, go to Setting up your showcase where we will add a camera, lights and a background.