This is where all textures are placed when imported and where new textures can be uploaded individually.
If you open ‘all folders’, all textures are visible, if you just want to see the textures of one folder, you simply open this folder.
Table of Contents
Add new folder
1. Click the ‘+Add’ button
2. The new folder is added straight away
3. Use your right mouse button and select ‘rename’
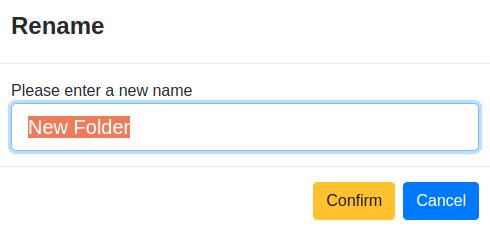
4. Fill in a new name for the folder
5. Click ‘confirm’ to save the change you made (or ‘cancel’ to go back)
Deleting a folder
1. Use your right mouse button to click on the folder you want to delete
2. Select ‘Delete’

3. By deleting the folder all the textures (or children) will be deleted as well, that’s why you can choose to move the children to a different folder. Move children to: select no folder if you want to delete everything or select the folder you want to use
4. Click ‘confirm’ to complete or click ‘cancel’ to go back
Adding a new texture
You can manually add a new texture by following these steps:
1. Select the folder you want to use (If no folder is selected, new additions will be placed under the root: ”All folders”)
2. Click the blue ‘Add’ button on the top right of your screen
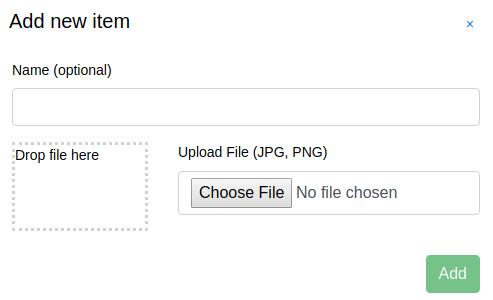
3. Enter the name you want to use for the texture (optional) and select or drag the right file (.jpg or .png)
4. Click the green ‘Add’ button
After adding new textures, you can view or edit them, by clicking on the texture.