This article will show you how to add SKU pricing. SKU stands for Stock Keeping Units. We can add a price to a SKU ‘’code’’ that can be read by Expivi. You will be able to change the prices of these codes easily via a CSV file which can be edited in a program such as Excell.
Table of Contents
Creating SKUs
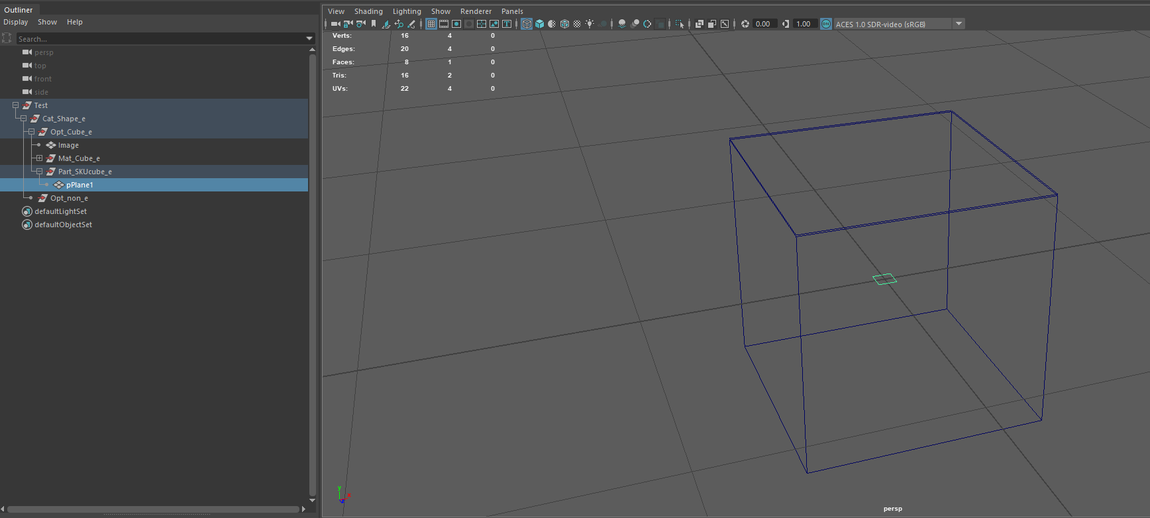
We need to create our SKU’s in our 3D program first. The SKU’s can be added to the hierarchy. The naming convention to define a SKU is “Part_your SKU name_e”. For example: Part_Cube_e. A Part SKU should always live under an option (Opt_name_e). This means that whenever this option is active within Expivi, the part SKU will also be active. A Part SKU always has to have a mesh inside of it.
There is no further configuration allowed inside the SKU except for material groups. If you want to configure further, use a placeholder mesh to define the SKU and create your hierarchy besides it.
If your SKU is a combination of an object and a material, you have to separate the SKU. In the 3d file you define the SKU for the object and inside Expivi you define the SKU for the material. When you are configuring a product, both SKUs are added together to do the final lookup for pricing.
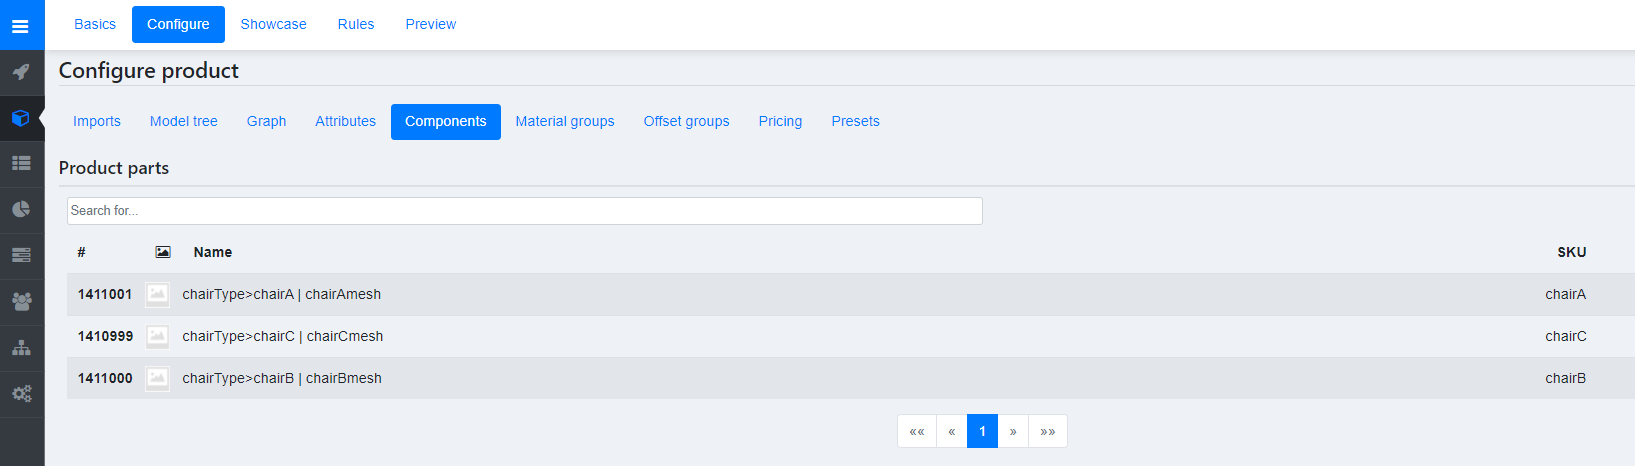
If you imported your models with SKUs successfully, they will show up in the components tab. You can also use a console script to check which SKUs are currently active in the scene. Check the last section “troubleshooting” for more info on how to do this.
After you add materials to a material group you can alter/add some properties of the material. You can change the name, thumbnail, (static) price but also add a SKU:

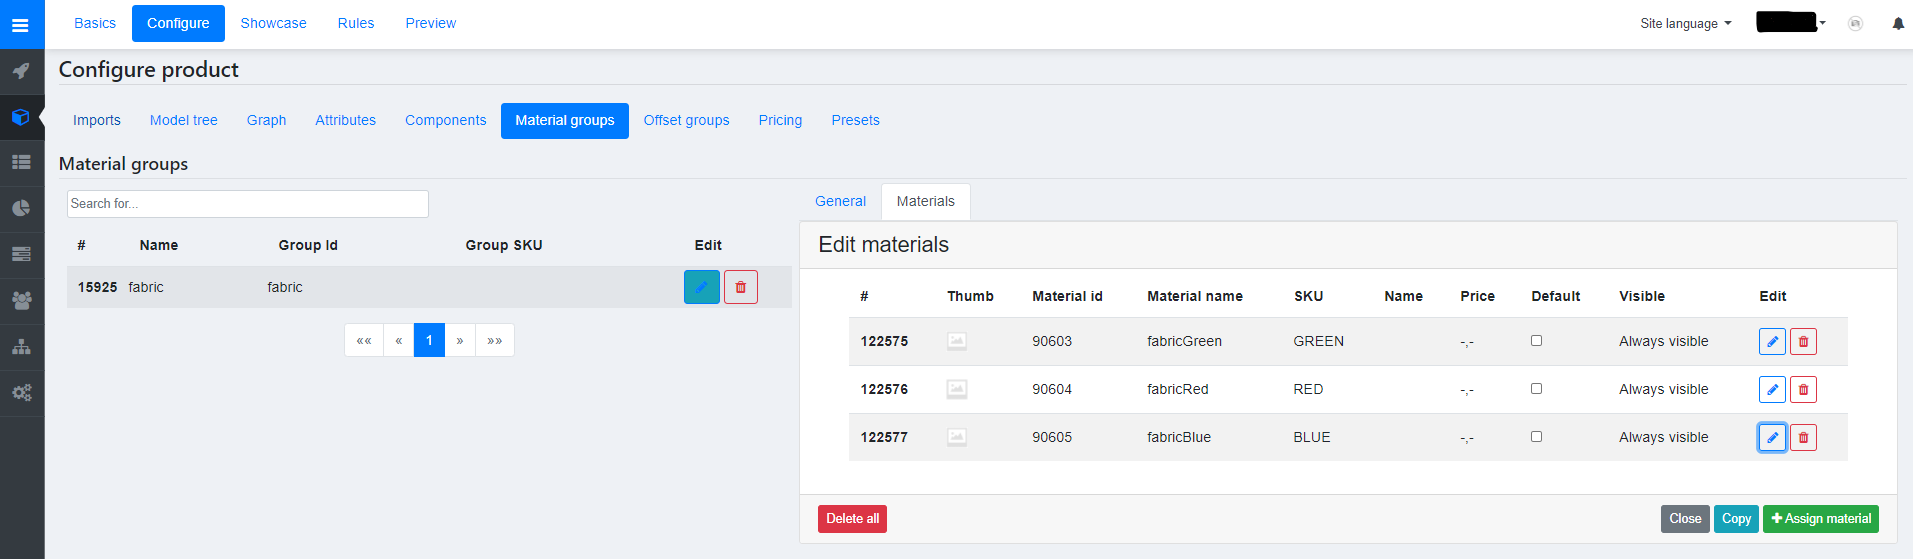
If the pricing of materials is different depending on other options or on which object the material is applied to, don’t use the pricing in the material groups and only add the SKU.
Creating pricing for SKUs
To use SKU pricing you must create a spreadsheet of all possible SKU + material variations and define a price for each of them (column A&B). More advanced users can use regular expressions (regex) to create more flexible pricing rules for SKUs (column D&E).

It is useful to label your columns with “SKU” and “Price” so that when you are importing the spreadsheet you can quickly identify which columns hold what data.
Save your spreadsheet as a .csv file to start importing it into Expivi.
Setup in Expivi
To use SKU pricing inside Expivi you have to do some setup in the pricing matrix.
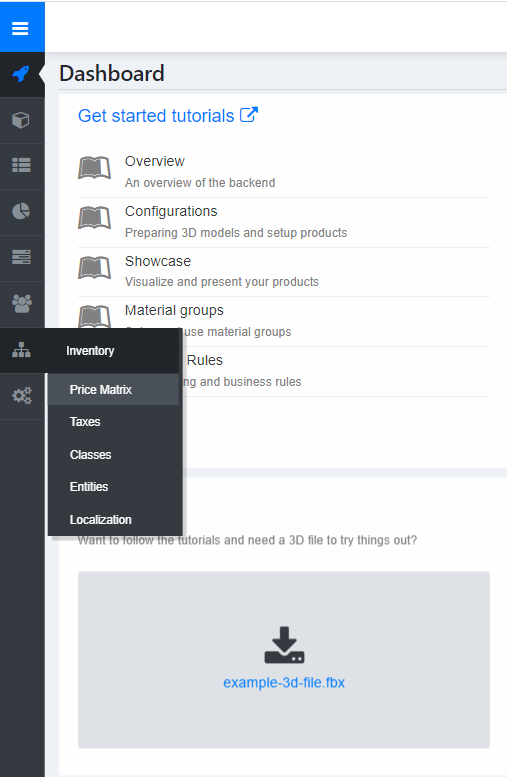
Here you can create a new price group and assign a class to it. If no classes exist yet, you can create one inside the price group creation window.


To enable the pricing in your product you must link the price group from the price matrix to your product through a class.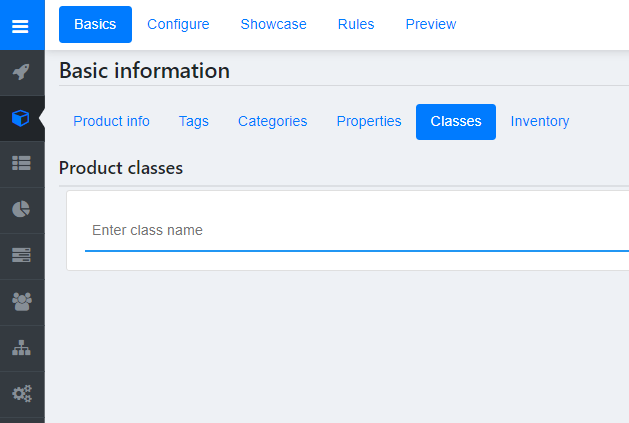
After the price group has been created and linked to the product through a class, you can import the spreadsheet that you have made.
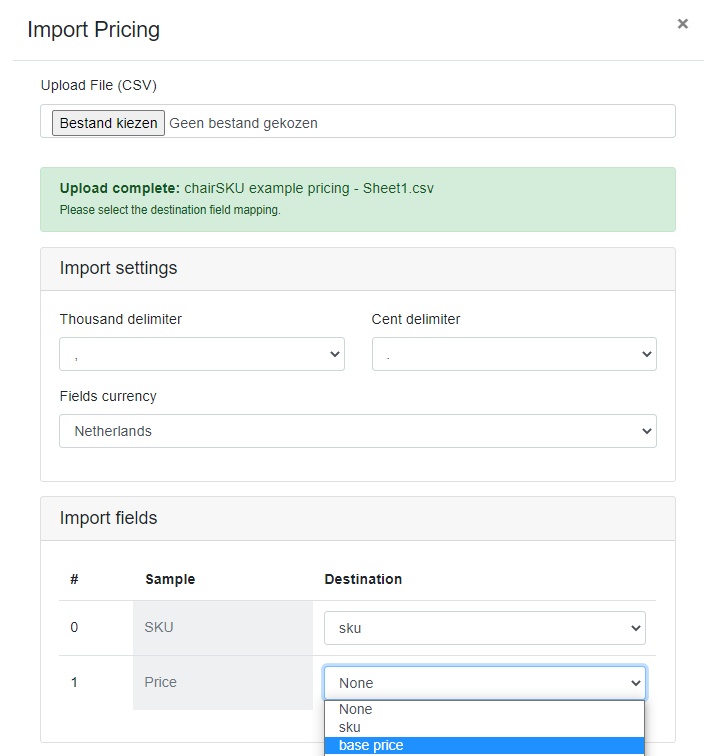
In this import menu you can define for what country you are importing the pricing. You can only select one country per upload cycle so if you have multiple currencies, even within the same .csv file, you will have to repeat the import process for each one. If a SKU already exists during import it will overwrite or add to the existing entry.
You will see a preview of the data/text under the word “Sample”. If you labeled your colums in the .csv file it will help during this step. By default there are two destinations you can map your colums to: SKU and base price. Match each destination to the correct column of your .csv file and click “import”
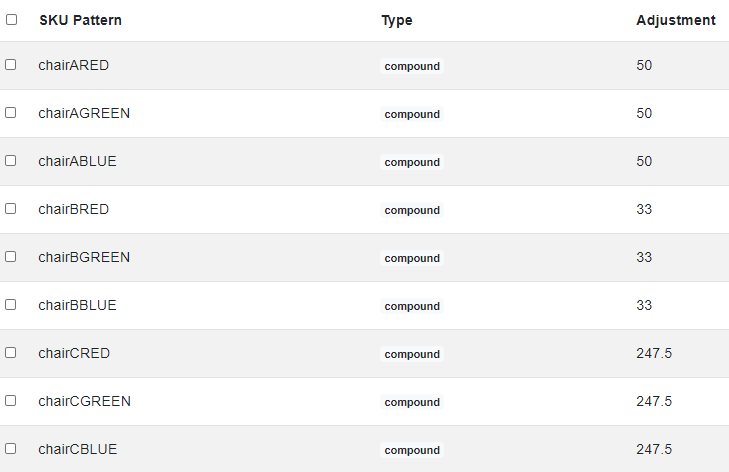
Refresh the page after importing and it will show you the imported SKUs with their price.
You can add SKUs in this list without importing a .csv file, though it is a bit more tedious.
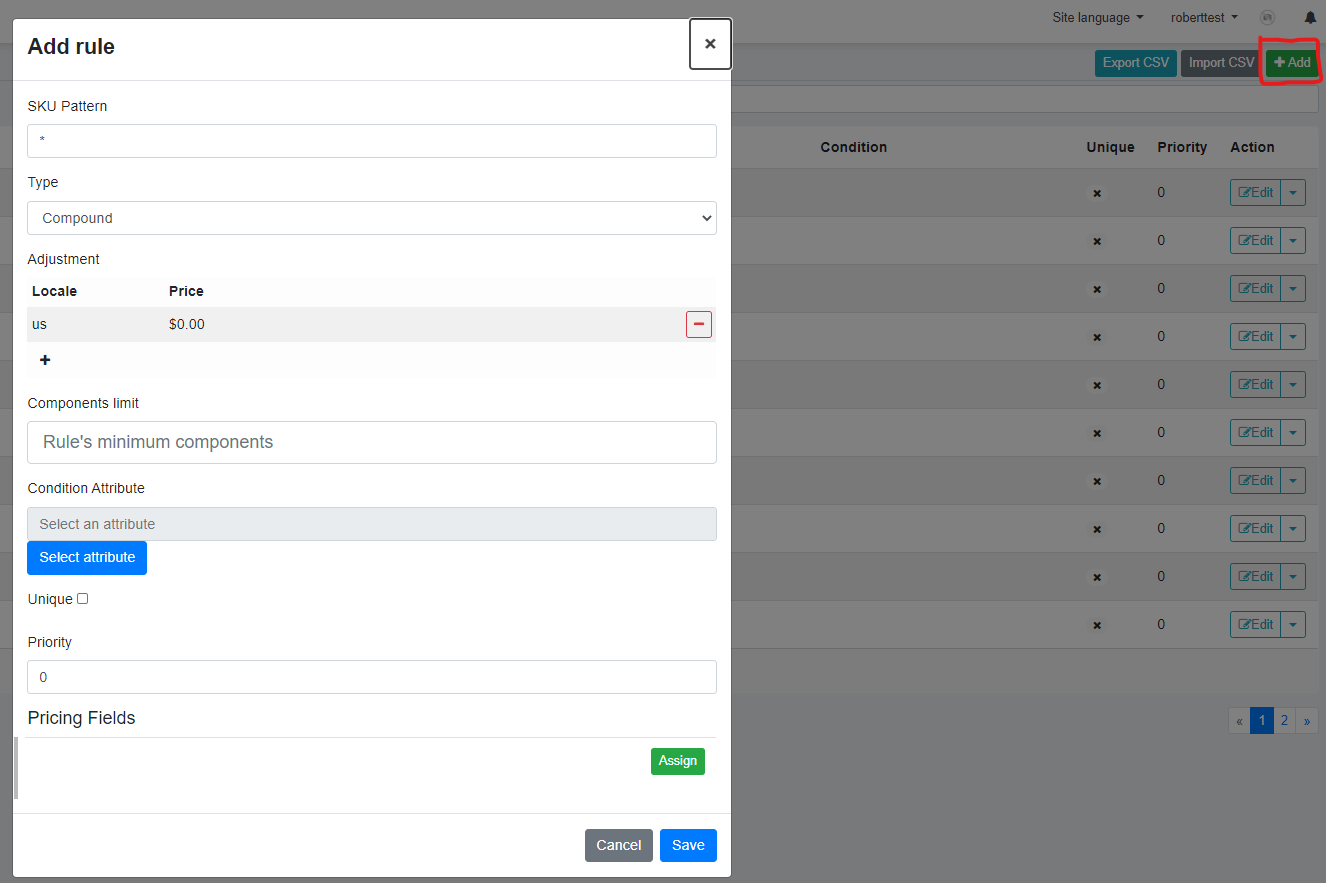
There are three types for a pricing rule: compound, unit and rate.
Compound is a flat amount that is added whenever the SKU is in the scene.
Unit is used in conjunction with the operable_numbers_input attribute to calculate a price based on the user input.
Rate is a multiplier that is active whenever the SKU is in the scene.
In the component limit field you can define a minimum amount of instances of the same SKU that need to be present before the price is added.
You can set a condition attribute that only allows the current SKU to be used for pricing when the condition is true. You can only add a single condition here. For simple conditions such as an option being selected I highly recommend to define this type of condition using the 3d hierarchy instead.
Troubleshooting
window.expivi.saveConfiguration(0,0).then((q) => { console.log(q); })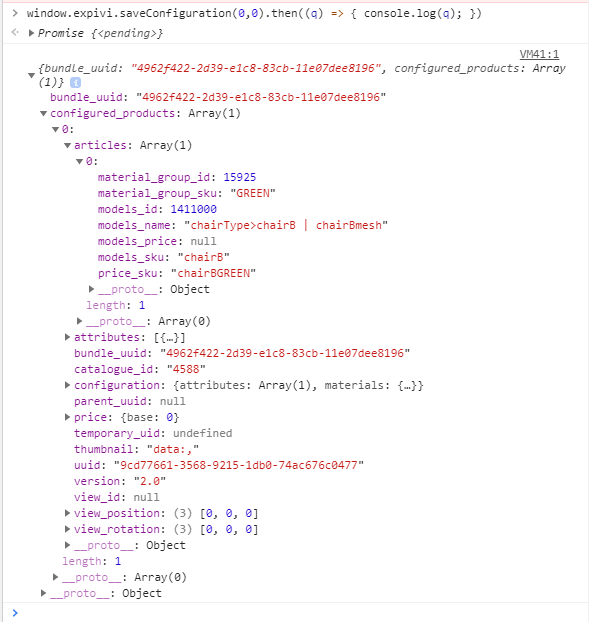
Under bundle_uuid->configured_products->0->articles you can see all separate models that are in the scene. If you open an entry you can see all types of useful information about the mesh, including the model SKU and price SKU. The price SKU is the only thing that is used to search the price matrix for a full match. The price SKU is a combination of the model SKU + material SKU.