Table of Contents
Scene Set-up
Start by setting up your scene by changing your scene units to meters. To do this go to Customize→ Unit Setup.

Within the window that pops up toggle on Metric within the Display Unit Scale dialog, you can choose for either Millimeters, Centimeters, Meters or Kilometers (This will not impact the export settings but will only change the unit set-up that is being displayed within the viewport).
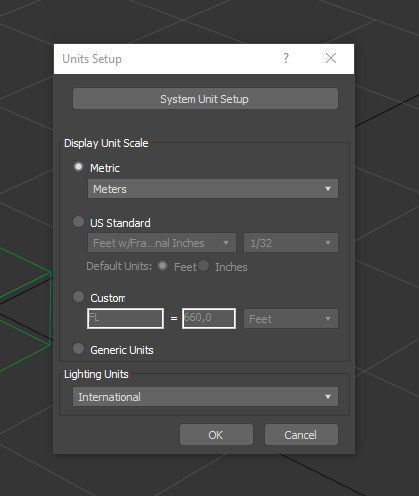
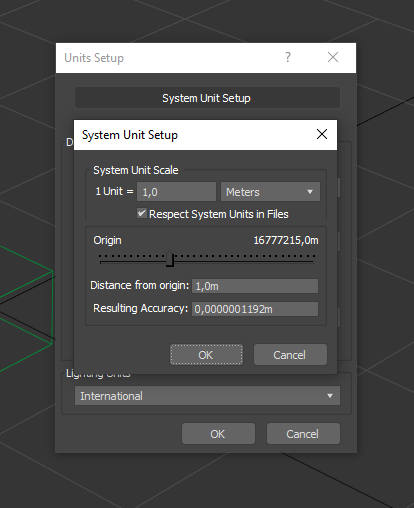
Hit System Unit Setup, under → 1 Unit = type ‘1’ and select Meters under the dropdown menu.
Importing your 3D model
Next Import your model by selecting File → Import → Select your file.
Creating a Hierarchy
When the model is properly created or imported, it is time to create a hierarchy that Expivi can read. For information on hierarchy functionality check: Hierarchy .
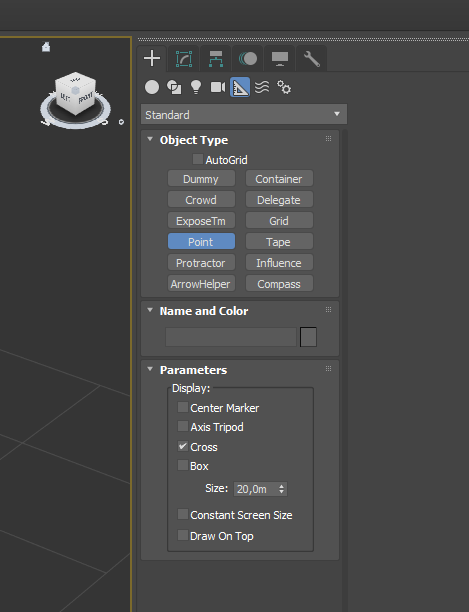
In order for Expivi to read your hierarchy you can create points. Do this by clicking on the Create icon → Helpers → Point
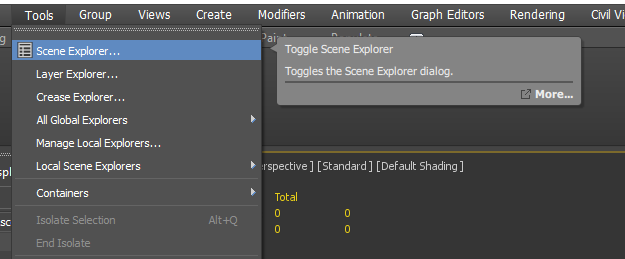
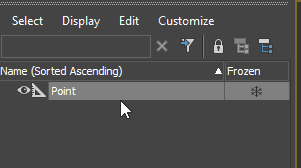
You can view the hierarchy by clicking on Tools → Scene Explorer
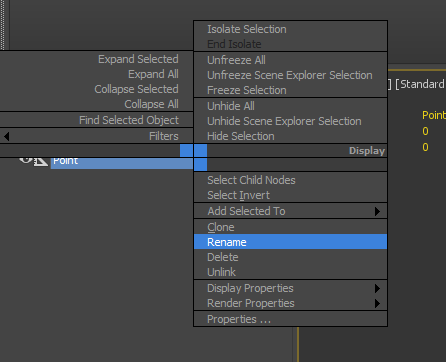
You can rename points by selecting it using left-click (within the viewport or Scene Explorer) and then right-click on the object within the Scene Explorer and choose Rename.
Alternatively you are able to left-click the object within the Scene Explorer and hovering the mouse on the object for a second.
Expivi will generate attributes according to the naming convention and name used by the point objects.
Setting up basic materials (optional)
Expivi will recognize materials assigned within your software.
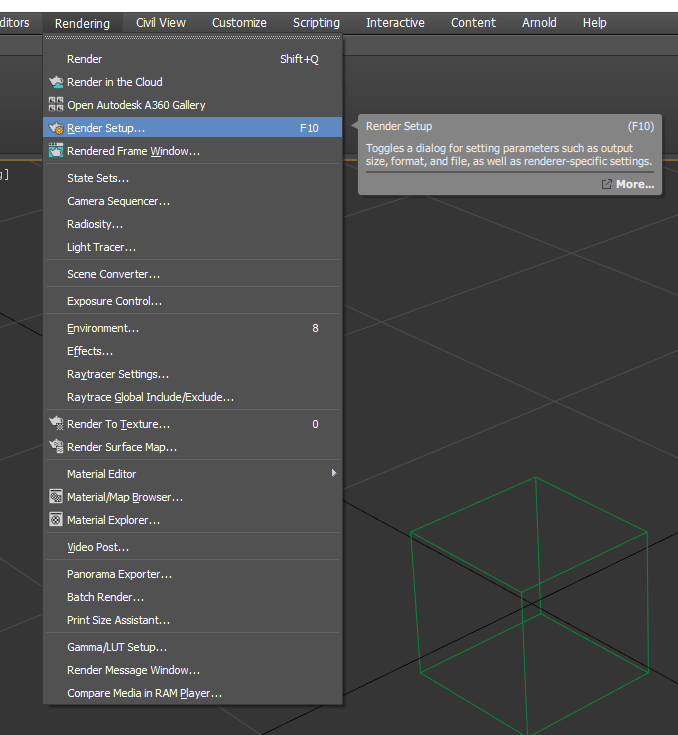
As the selected render engine has impact on the selectable material shaders you should change the Renderer to Scanline Renderer. Do this by going over to the Rendering tab → Render Setup
Alternatively you can hit ‘F10‘ on your keyboard.
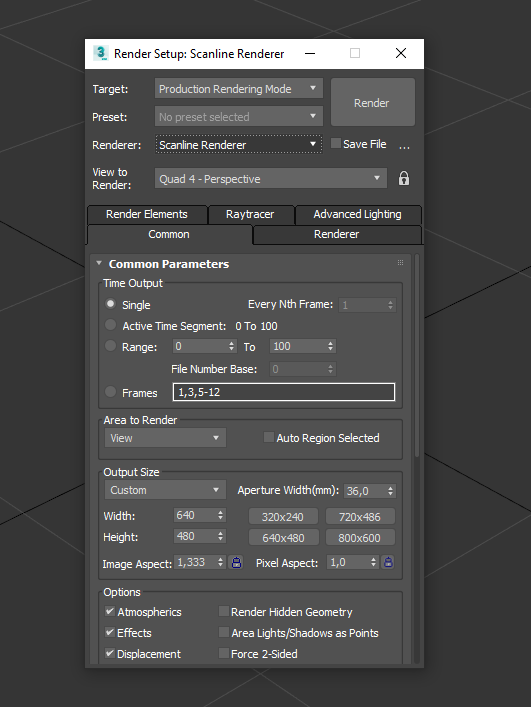
Select Scanline Renderer under Renderer.
As for creating the actual materials you can go to Rendering tab → Material Editor → Slate Material Editor
Alternatively you can hit ‘M‘ on your keyboard.
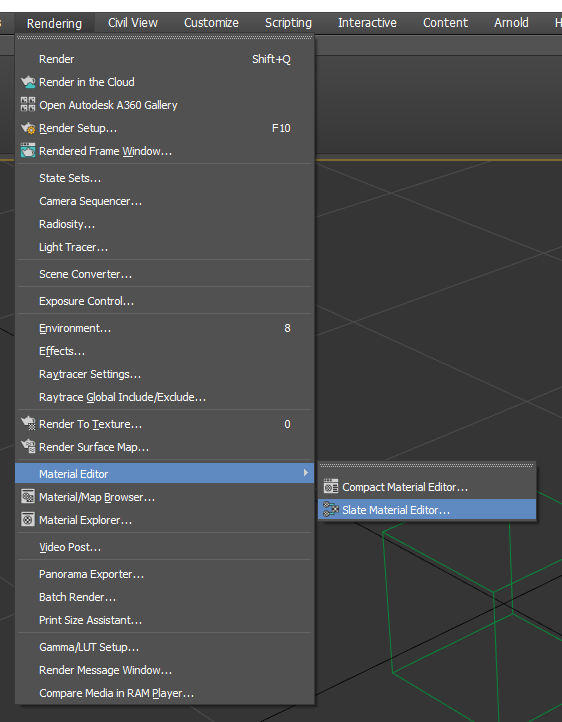
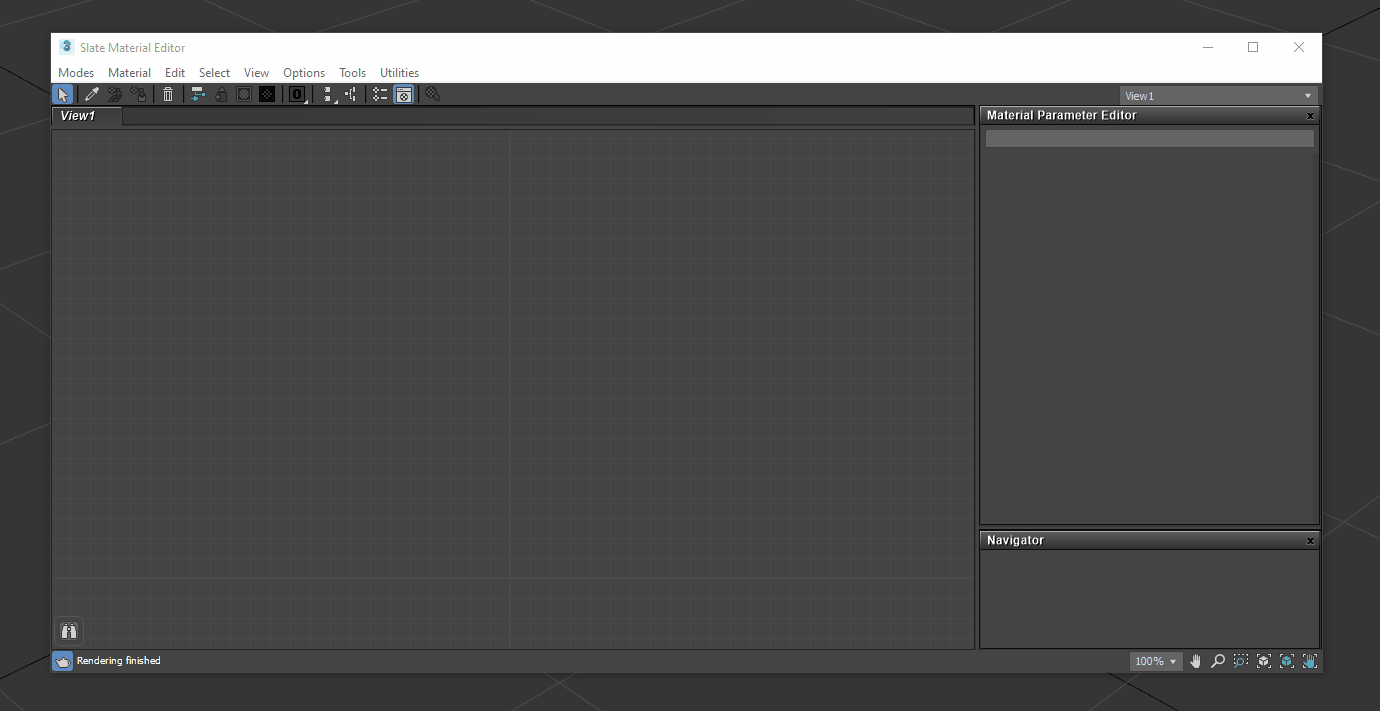
The Slate Material Editor window is popping up, within this window you will be able create materials.
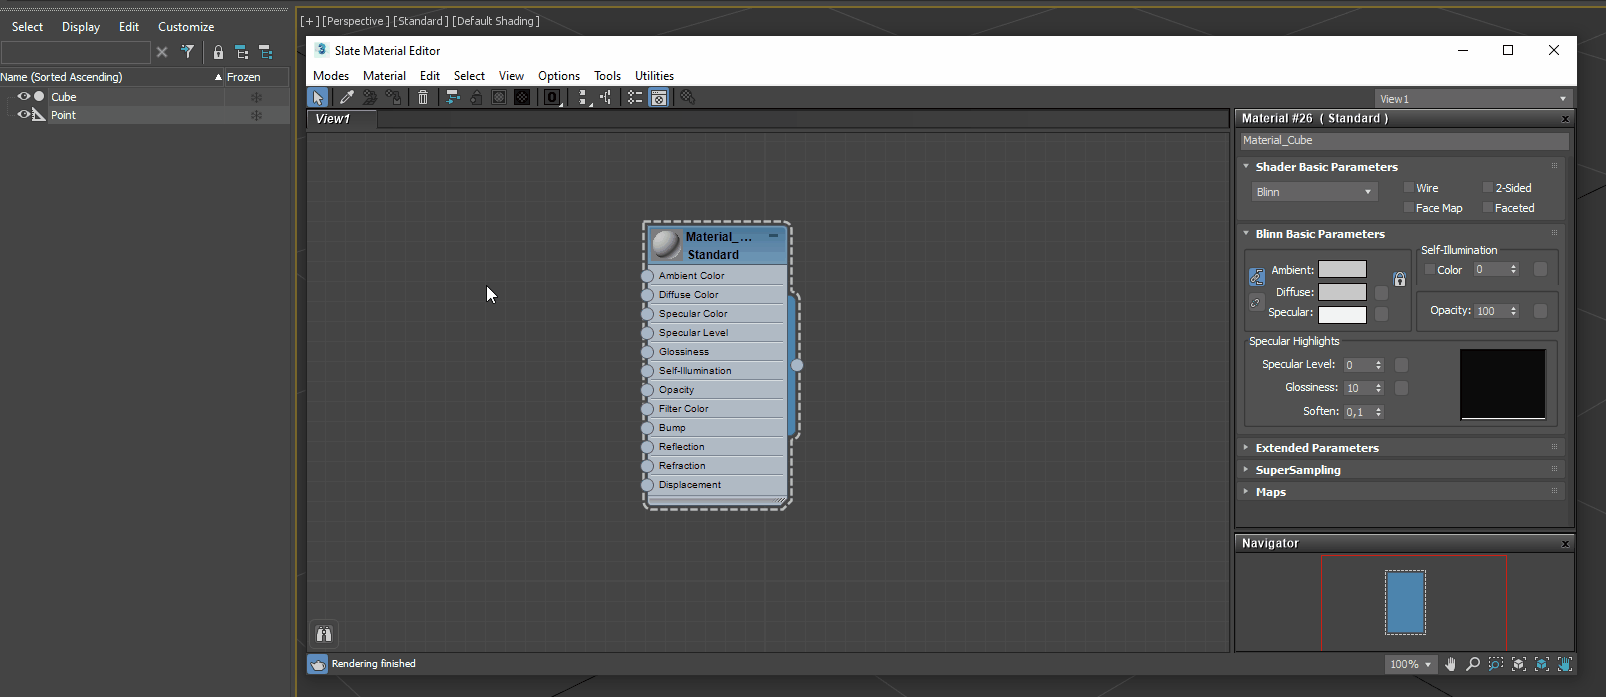
Hovering over to the grid area of the Slate Material Editor and clicking on your right-mouse-button → Materials → Scanline → Standard
Assigning materials to objects can be done by selecting both the Material and object and hit Assign Material to Selection.
Exporting your model
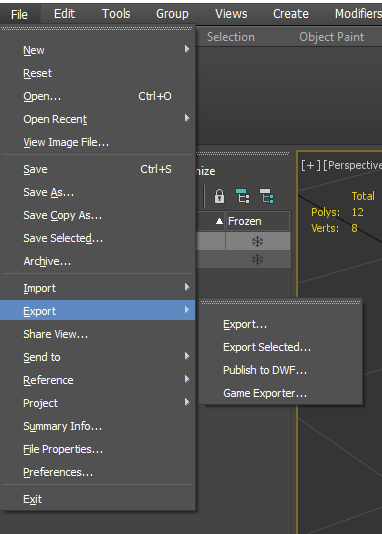
When you are finished with setting up your hierarchy, it is time to export your model for use in Expivi. You can either export your entire scene or select a part within your hierarchy and choose to only export that part of your file.
The file is now ready to be imported in Expivi.
If you followed the steps above, you are ready to import your model into Expivi. Check Getting started within Expivi on how to do this.