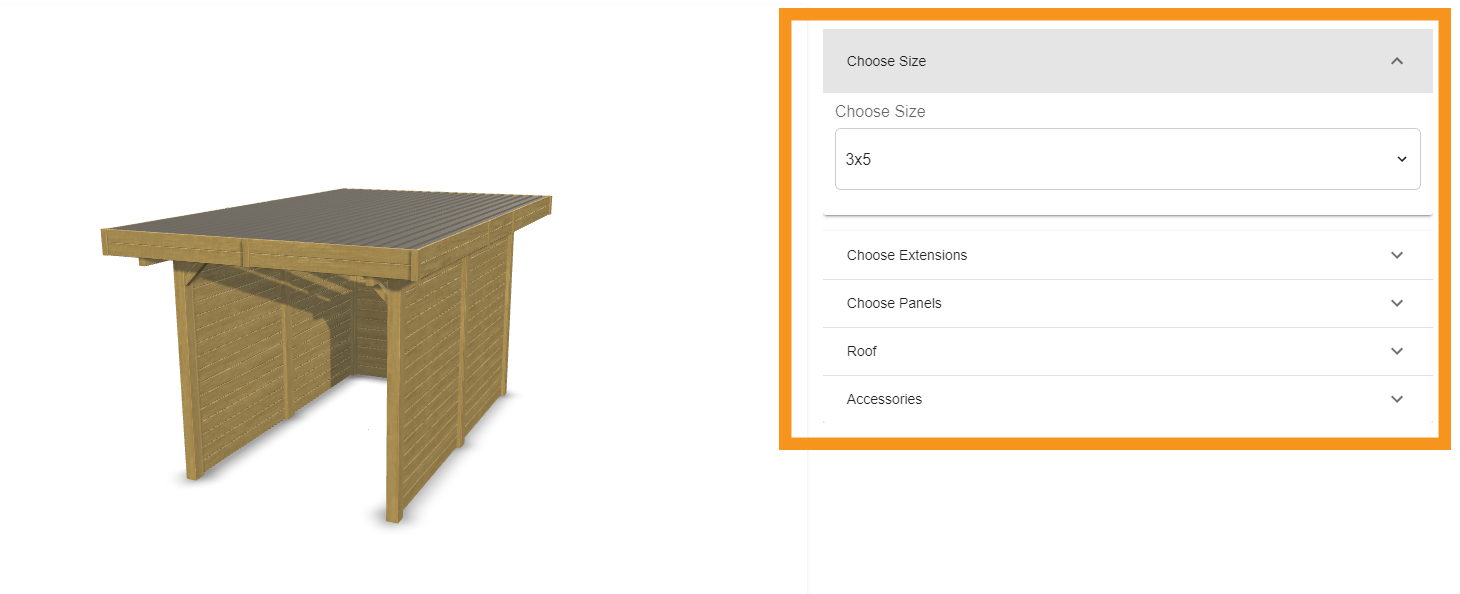
Expivi is a 3D configuration tool that will help your customers customize your product to a personal level. The Expivi tool is set up to work a certain way in which a few things are important to keep in mind before you start. Lets go through them below.
Configuration Flow
Before you start with anything in Expivi you should know what parts you want to be able to configure. This can be the material of an object, an entire part of your product, or a whole product. This
is called the configuration flow. Think about the questions you want to ask your customers and in
what order. To understand making a hierarchy better please check the hierarchy page here: Hierarchy.

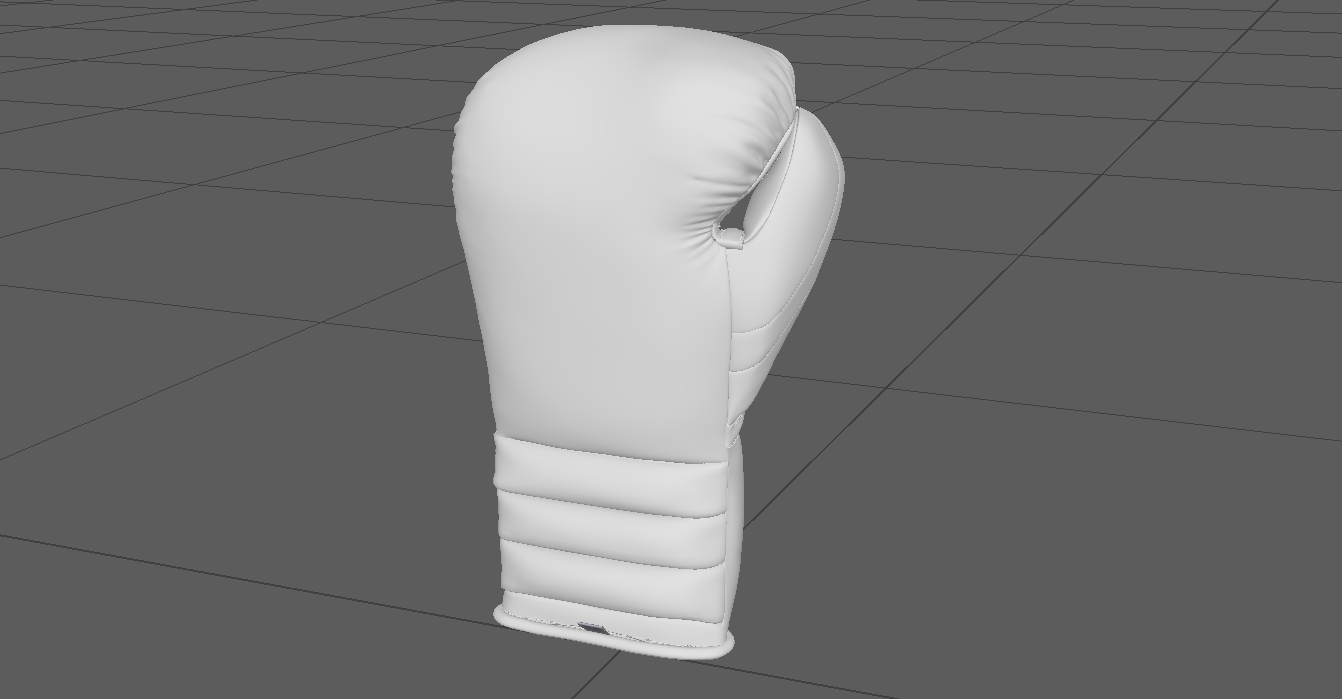
3D model
The first thing you will need for a configuration is a 3D model. A 3d model is a three-dimensional
representation of your product. This can be created inside of a 3d program such as Autodesk
Maya/3DS max, Blender or Cinema 4D.
The 3D model can be imported either as an FBX, DAE or OBJ. The preferred format being FBX. Within
this 3D model, all the configurable parts should be separated from each other. For more information on 3D model requirements check out the 3D model page which can be found here: Setting up your 3D models.

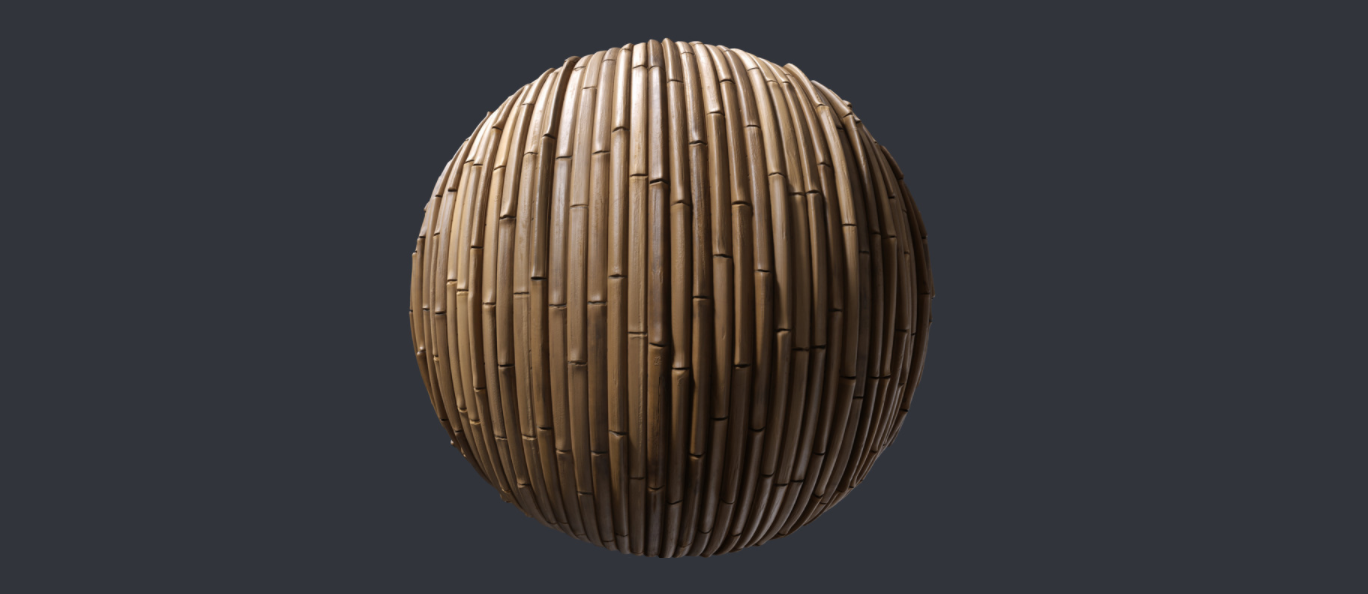
Materials
The color and pattern your 3D model has is called a material. To create such a material
you will need either a color code for solid colors or an image (texture) of the desired pattern. For every
part of the product that would need specific patterns, for example, a wood structure, you would
need pictures or a texture map. These materials are built within Expivi. For more information on materials check out the material page which can be found here: Materials.

Pricing
The configurator can work with pricing options for your product. There are several ways to give a price to parts of your configuration. One of which is attribute pricing, the other one is called SKU (Stock Keeping Unit) pricing. For more information on pricing check out the pricing page which can be found here: Pricing
