For more information on using SKUs in Shopify, please visit this page.
A new feature has been added to the Shopify plugin to add the main product SKU to all the variations that will be created by Expivi.
These are the steps to get it ready:
- Turn on the sku variant functionality.
- Enable the sku variant copy functionality on your product.
- Add a SKU to the main product.
Table of Contents
1. Turn on the sku variant functionality
Go to the Expivi plugin admin panel. Scroll to the bottom of ‘General settings’ to ‘Other Settings’. There you have to enable the save variant sku checkbox, like so.

Make sure to press save.
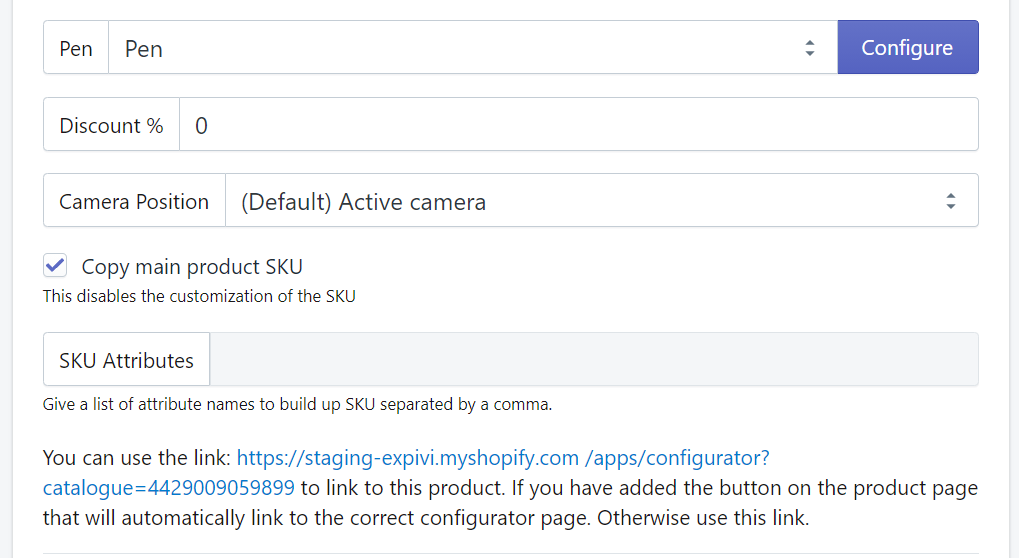
2. Enable the sku variant copy functionality only on your product.
Go to the product within the Expivi plugin admin panel. There you have to enable the copy main product SKU checkbox. Doing so will disable the SKU attributes functionality since the SKU will be copied from the main product.
3. Add a SKU to the main product.
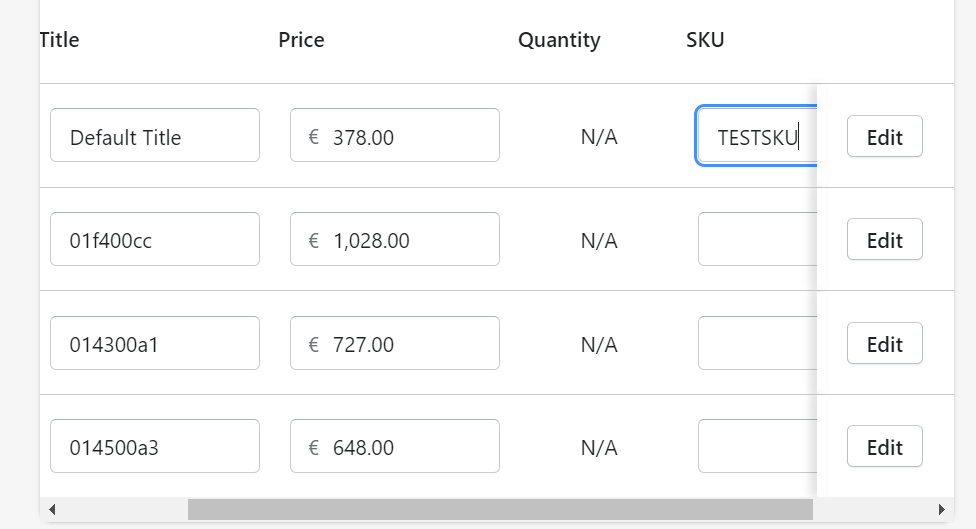
To make sure that this functionality works properly you need to add a SKU to your main product, if you have not done that already. You can do this by going to your shopify product. Go to inventory and add a SKU there.

If you already have Expivi in use and want to use this for every newly created variant, you have to add the SKU to the default variant (The first one in the list). Variants are created from Expivi based on price. Therefore when you want to apply the SKU to the existing variants, you can either copy this on every price variant. Or remove the existing variants so they are newly created with correct SKU.