When setting up your product in Expivi you might want to have interactable buttons set up in your scene to control certain elements.
This tutorial will help you understand and set up these buttons for your product, categorized into two topics: Showcase and Rules.
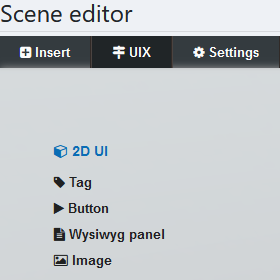
Navigating to your products showcase, here you will find the ‘Scene Editor’. In the Scene Editor hover your cursor over the ‘UIX’ tab. Displayed are a few elements you can insert into your scene, in this document we will only talk about the ‘Image’ UIX element.
After inserting the Image element you will see a grey picture icon in your scene. Click the icon and the ‘Entity’ and ‘Object’ menus will open. In these menus, you will find everything you need to set up your button. You can assign an image to the element that will be displayed as its icon in the viewer. The element can be rescaled to fit your image better and supports transparency using a .PNG image file.
If you are using more buttons it is important to give these elements a name associated with its function to make it easy for you to find them when navigating the ‘Rules’.
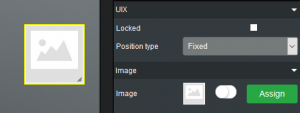
In the Object menu, you can use the ‘Locked’ function, to lock the element in its current position. ‘Position Type’ will determine the way the element will interact with the scene. ‘Fixed’ will set the element in the foreground of the showcase. This way it will sit fixed in front of your scene and won’t be affected by your camera. For example, you can line up your buttons to the sides of the showcase, these will be displayed the same way in the configurator.
‘Projection’ will pin the element to a certain position in the 3D world space. Using the coordinates displayed in the ‘Entity’ menu you can use the X Y Z axes to line them up with your 3D elements in the scene. This way they will stay pinned to the same coordinates but will always face towards the camera.
To make these elements interactable you will have to set them up in your ‘Rules’
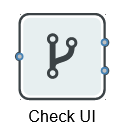
Navigate to your rules, here you will find the ‘Check UI’ node underneath ‘checks’ -> ‘changed’
If you click the node the node menu will open to the right.
In the ‘UI’ section you can link the option to the element you have just created. When you’re done you’ll have created an option controller, with this controller you can now control linked rules when clicking the ‘UI’ element in the Expivi viewer.
With this function you can, as an example, hook up your rule to a ‘camera’ node and set up different cameras in your scene and switch between these when you click the UI element.