Recent updates changed some aspects in regards to setting up prices and importing price sheets within the price matrix.
As you may notice, all pricing field have been altered. You are now able to create price Collections and Groups.
This allows you to define your price based per subdomain as you are able to import prices within specific Groups and assign these to a Class and afterwards connecting this Class to a Subdomain.
The pricing within previously set-up products have been converted so that the prices of these configurators are the same as before (You will notice that for every account a Default Collection and Default Group have automatically been created). However, the method of setting up a price system is altered and previously formatted pricing sheets are no longer compatible with the current way of importing price sheets within the Price Matrix.
This guide will show you how to set-up price sheets that are correctly formatted for working with the new price system.
Step 1
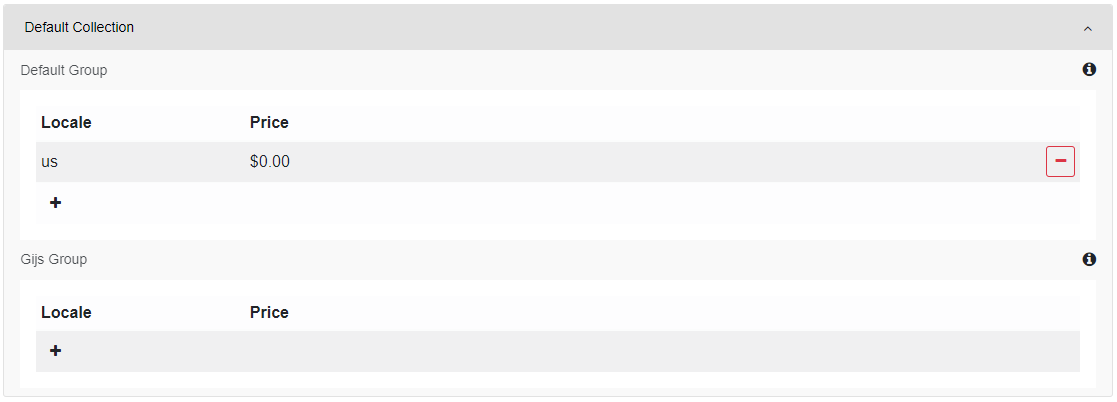
When creating a new price sheet you first head over to the price matrix within the account you want to add prices for.
Create a Price Group & Class, add a single Price Rule and define a price for two different locales.
Step 2
Export the price sheet within that Pricegroup (in this case a single SKU + 2 currencies). After the file has downloaded, open it within OpenOfficeCalc and open the price sheet using the following import settings:
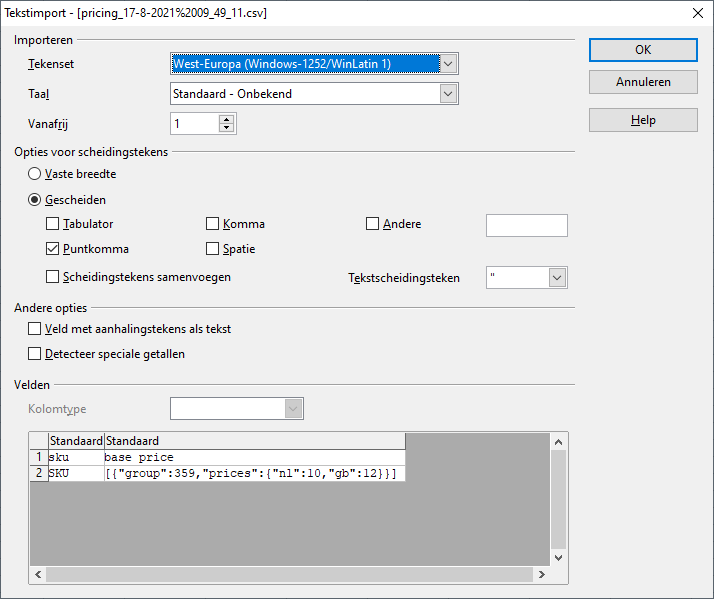
Step 3
Now you have imported the format compatible with importing new price sheets. By reverse engineering this format you will be able to create a new pricing sheet.
As for a brief dissection of what you see within the Base Price column (column B).
[{“group”:359,”prices”:{“nl”:10,”gb”:12}}]
[{ → Prefix
“group”:359 → This represents the group ID generated upon the creation of the Group. an important thing to note is that this ID is unique per group. This means you will have to export the price sheet in order to track down the ID used by the group within your account (Currently there is no way to track down this ID within the back-end).
, → in order to separate the previous and upcoming group (optional).
“prices”:{ → the prefix for defining currencies and prices
“nl”:10 → This is the locale and price added for (in this example) the Netherlands with a price value of 10.
, → in order to separate the previous and upcoming locale + price (optional).
“gb”:12 → This is the locale price added for (in this example) the United Kingdom with a price value of 12.
}}] → Suffix
Of course you are able to add new locales within your price sheet using the naming convention used as displayed above.
Step 4
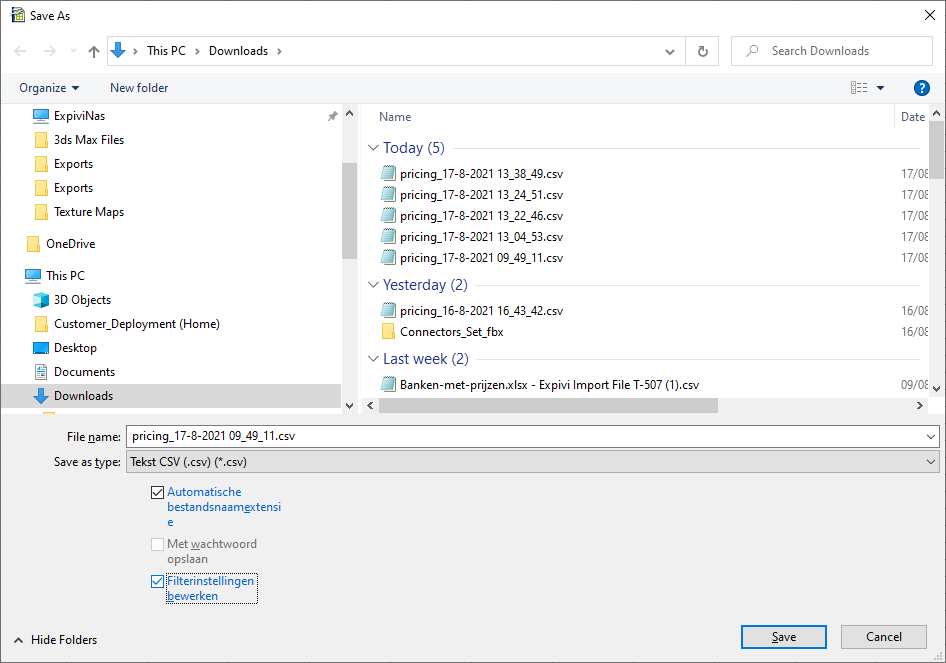
Exporting you new price sheet can be done by just saving the file, the only thing to mention is to check the ‘’Filterinstellingen bewerken’’ box in order to control the exact export settings.
When the following dialog pops-up, change the ‘’Veldscheidingsteken’’ field into ‘’;’’ and hit ‘’OK’’.
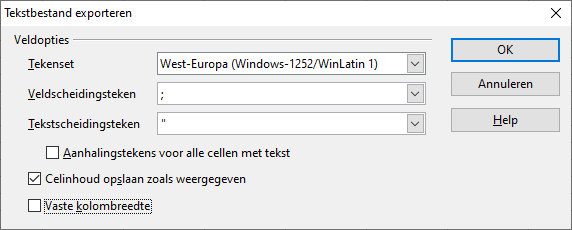
Afterwards you can import the price sheet into the Price Matrix as you would normally do.
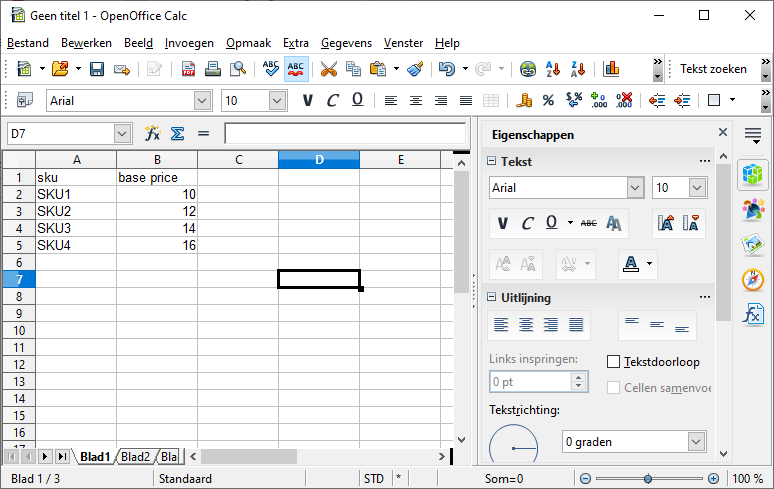
And finally brief mention on how to convert previously formatted price data over to the current format using OpenOfficeCalc.
Below you see an example of the format previously used to import/update SKU pricing.
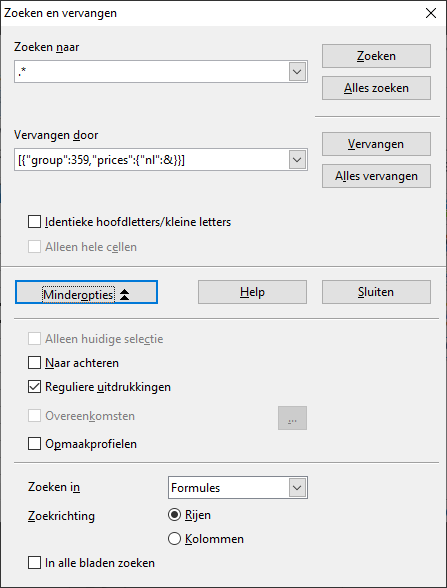
Accessing the Search and Replace dialog using Ctrl + F
adjust the search field to ‘’.*’’
and replace field to [{“group”:[Group ID],”prices”:{“[Currency]“:&}}]
Now select the cells underneath base price
Check the ‘’All currently selected’’ checkbox
Hit ‘’Replace all”
Below a animated image showing the the process from A to Z.